
By Rich
Between age and the wear and tear we inflicted upon it after two winters of intense restoration work in the interior, our cabin sole was in need of a new coat of varnish this spring. We tried hiring a contractor to the work, but as we detailed in this post, that turned out to be a disaster. So we took the project on ourselves. Here is what we learned about the process.
The first step is sanding down the floor to create a good surface for the new coat of varnish to adhere to.
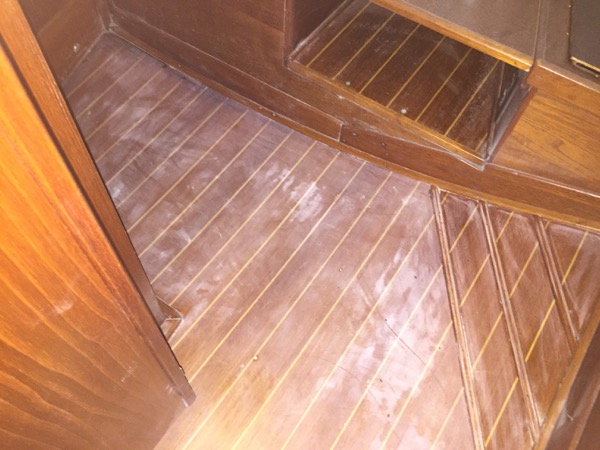
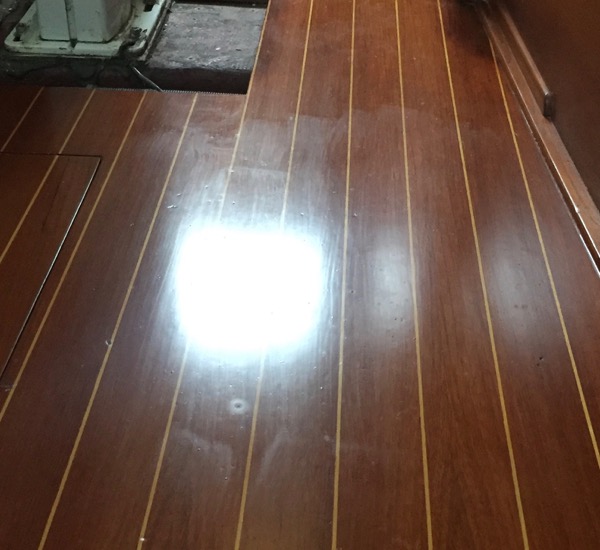
Once the sanding is done, dings in the floor can be filled with clear epoxy, which then should be sanded back down so it is flush with the rest of the surface. The process is shown in the lower right of photo at the top of this article. The contractor we originally chose did this work so we can’t offer too many tips on the process other than to be sure the epoxy is sanded completely flush with the surface before the varnish goes on.
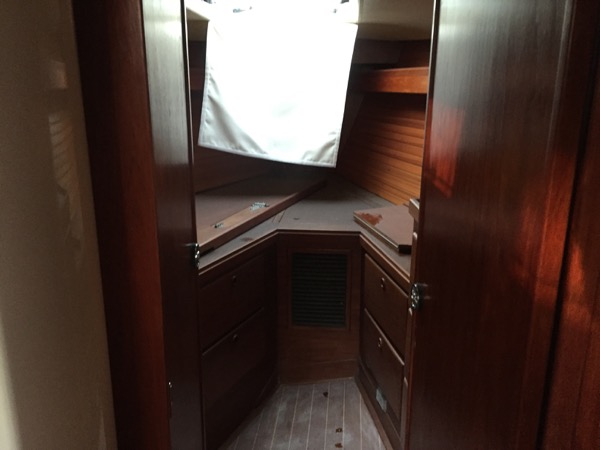
For sanding, use a rubber block and not one of the power sanders. The power sanders make it harder to fair the surface and knock down protruding imperfections. Also, the power sander will fill the interior with dust that must be cleaned carefully before varnish goes on. Our original contractor used a power sander and coated the interior with a heavy coat of dust that he did an inadequate job of cleaning. In the photo below the top of the V-berth wood looks like it has a coating of snow on it (notice the small hand print where it’s been rubbed away). Later, when I sanded twice between coats, I had no dust at all on the other interior surfaces. Power sanders are lazy and sloppy for this work. Use a block and do it right.
Dust from the power sander, dog hairs from our contractor’s golden retrievers and various other debris all found its way into his coats of varnish, and it looked awful. That flaw was at least as bad as the lap and brush marks he left. After sanding we thoroughly cleaned the interior and we have almost no debris in the coats we applied.
It should be cool and dry when varnish is applied to prevent it from drying so quickly that brush marks are left in the coat. We brought a portable air conditioner aboard to help with the summer heat.
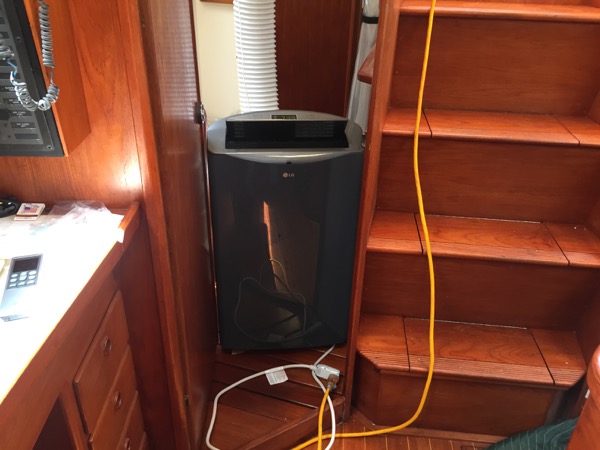
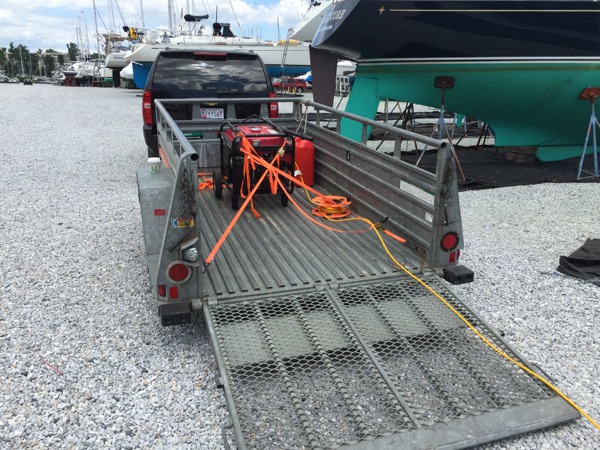
The power in the boat yard proved to be inadequate for the AC unit, so we towed our household backup generator to the yard whenever we needed to work below. A crazy process but it worked. The interior wasn’t exactly cool but it went from being an oven to being fairly livable.
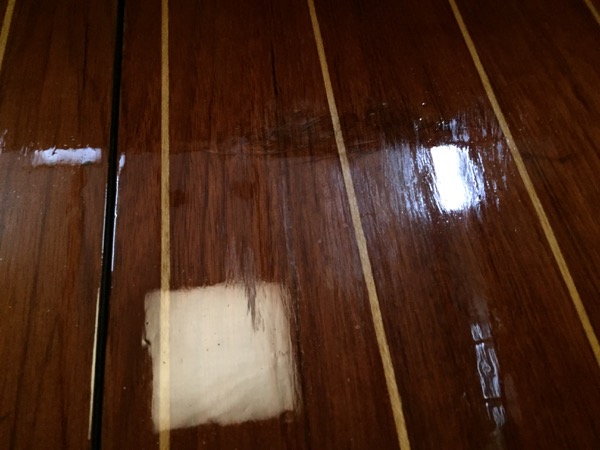
Be sure to test the various finishes you are choosing from to decide what color tone and degree of gloss you like. Our contractor insisted on using Epiphanes matte and we didn’t like it at all. It looked dull and aged even when new. So we tested Interlux Compass Clear on a removable floor board and compared the two. In the photo below, the floor surrounding the panel has a new coat of Epiphanes while the small board has the Compass Clear. We loved the gloss look. Don’t let a contractor push you into a finish you haven’t seen or don’t prefer. It’s your boat.

When applying varnish it is vital to keep a “wet edge” – that is to say, to avoid rubbing the brush through varnish that has started to dry. So as you are coating the floor, you keep extending your wet edge without stopping and returning to brush a site again later. Here are lap marks left by a failure to do so (from our contractor’s coat):
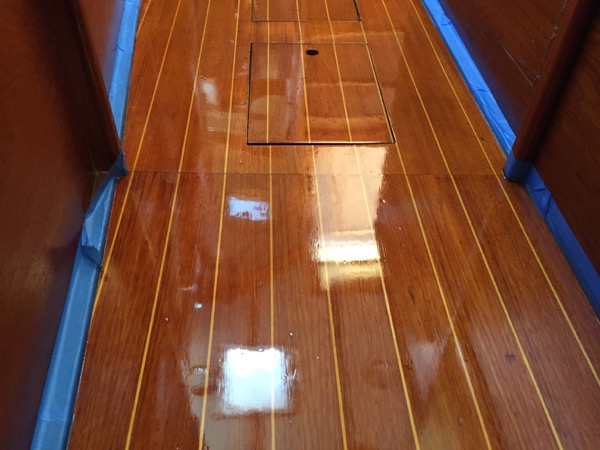
We found a good cheat to avoid this problem: stop your work where two separate floor boards meet. Then you can work on a different area and return later without leaving lap marks. Another cheat: see those strips of holly in our floor? They form a great seam to stop a coat and continue later without the break point being visible.
I made plenty of mistakes with my first coat of Compass Clear but I learned from them. A couple of tips: when using a foam brush keep it very wet and apply only light pressure. Otherwise when you put the brush down on the floor you leave a little “hill” where a blob of varnish is thicker than the surrounding area. Another tip: thin your varnish to be sure it flows well enough to cover fully. My first coat had voids where the coverage wasn’t complete:
A dead giveaway that you haven’t thinned enough is the need to apply a lot of brush pressure to get coverage.
We learned that a high gloss varnish is very tough (flattening agents that give more of a matte look actually soften the varnish). So if you have a flawed coat, sand very thoroughly down through the flaws.

I didn’t sand thoroughly enough through my first coat’s flaws before my second coat, with the result that some still show through.
After learning these lessons we came out with a second coat that I liked quite well, although it is far from perfect. I did leave some sags on uneven parts of the floor and I can still see some sins from my first coat. But the color depth is awesome and we love the glossy look. We’re going to go ahead and call this floor finished and just enjoy the boat over a winter in the Caribbean. It’s certainly not the last coat of varnish we’ll put on the floor and we expect the work product to be even better next time we do it.
The next time we do it ourselves, that is. No more contractors for this job. We’re scarred.

My GOD! It’s a mirror like cabin sole! I must say, the generator on a trailer is a cool touch!
would like a digital copy of this article