Another leak broke out on Blue Moon this past fall, once again caused by sloppy and inattentive work done by Hinckley Yacht Services up in Southwest Harbor, Maine. Under Blue Moon‘s prior ownership, all of the portholes and hatches on the boat were replaced a few years ago. Despite the recency of these installations, so far one porthole frame and the small deck hatch above the nav station have sprung leaks around the frame, in both cases due to inadequate preparation of the mating surfaces between the deck and the hardware. Operating on the assumption that the same (poor) process was followed for all of the deck hatches and portholes, I fully expect to have to re do all of the work Hinckley charged the prior owners many, many thousands of dollars to complete just a handful of years ago (we have the receipts!). The prior owners are wonderful people and had no reason to distrust Hinckley’s methods, particularly given the rates Hinckley charge. For the benefit of other Sabre owners, let’s walk through the right way to re bed portholes and hatches on a fiberglass boat and see where Hinckley cut corners and has thereby generated a ton of unnecessary work for us.
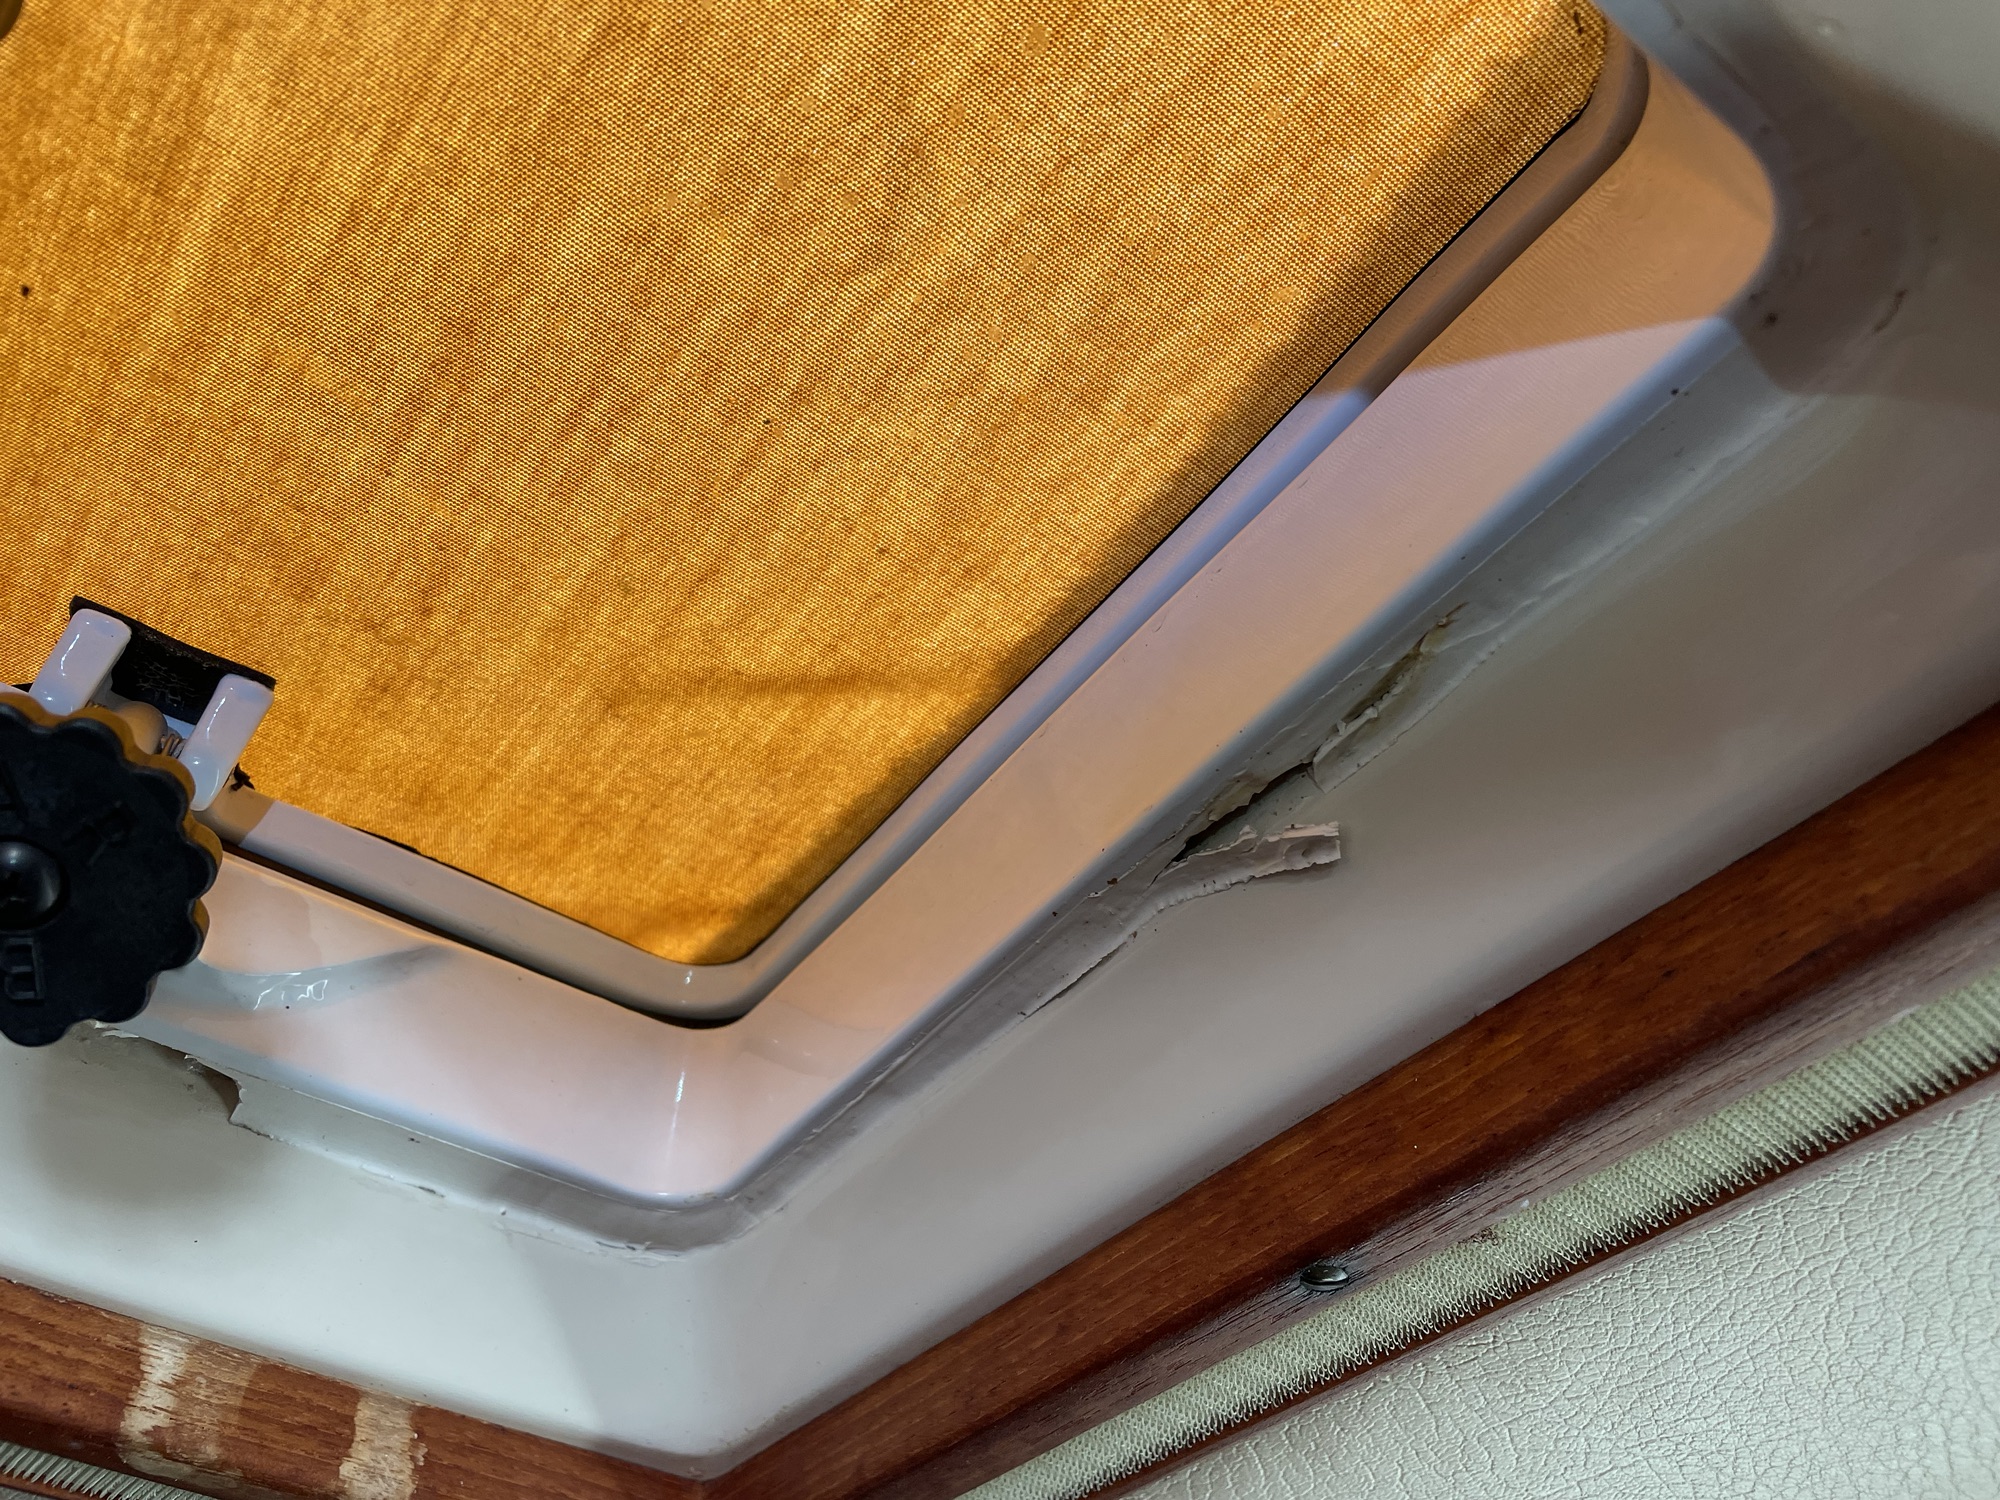
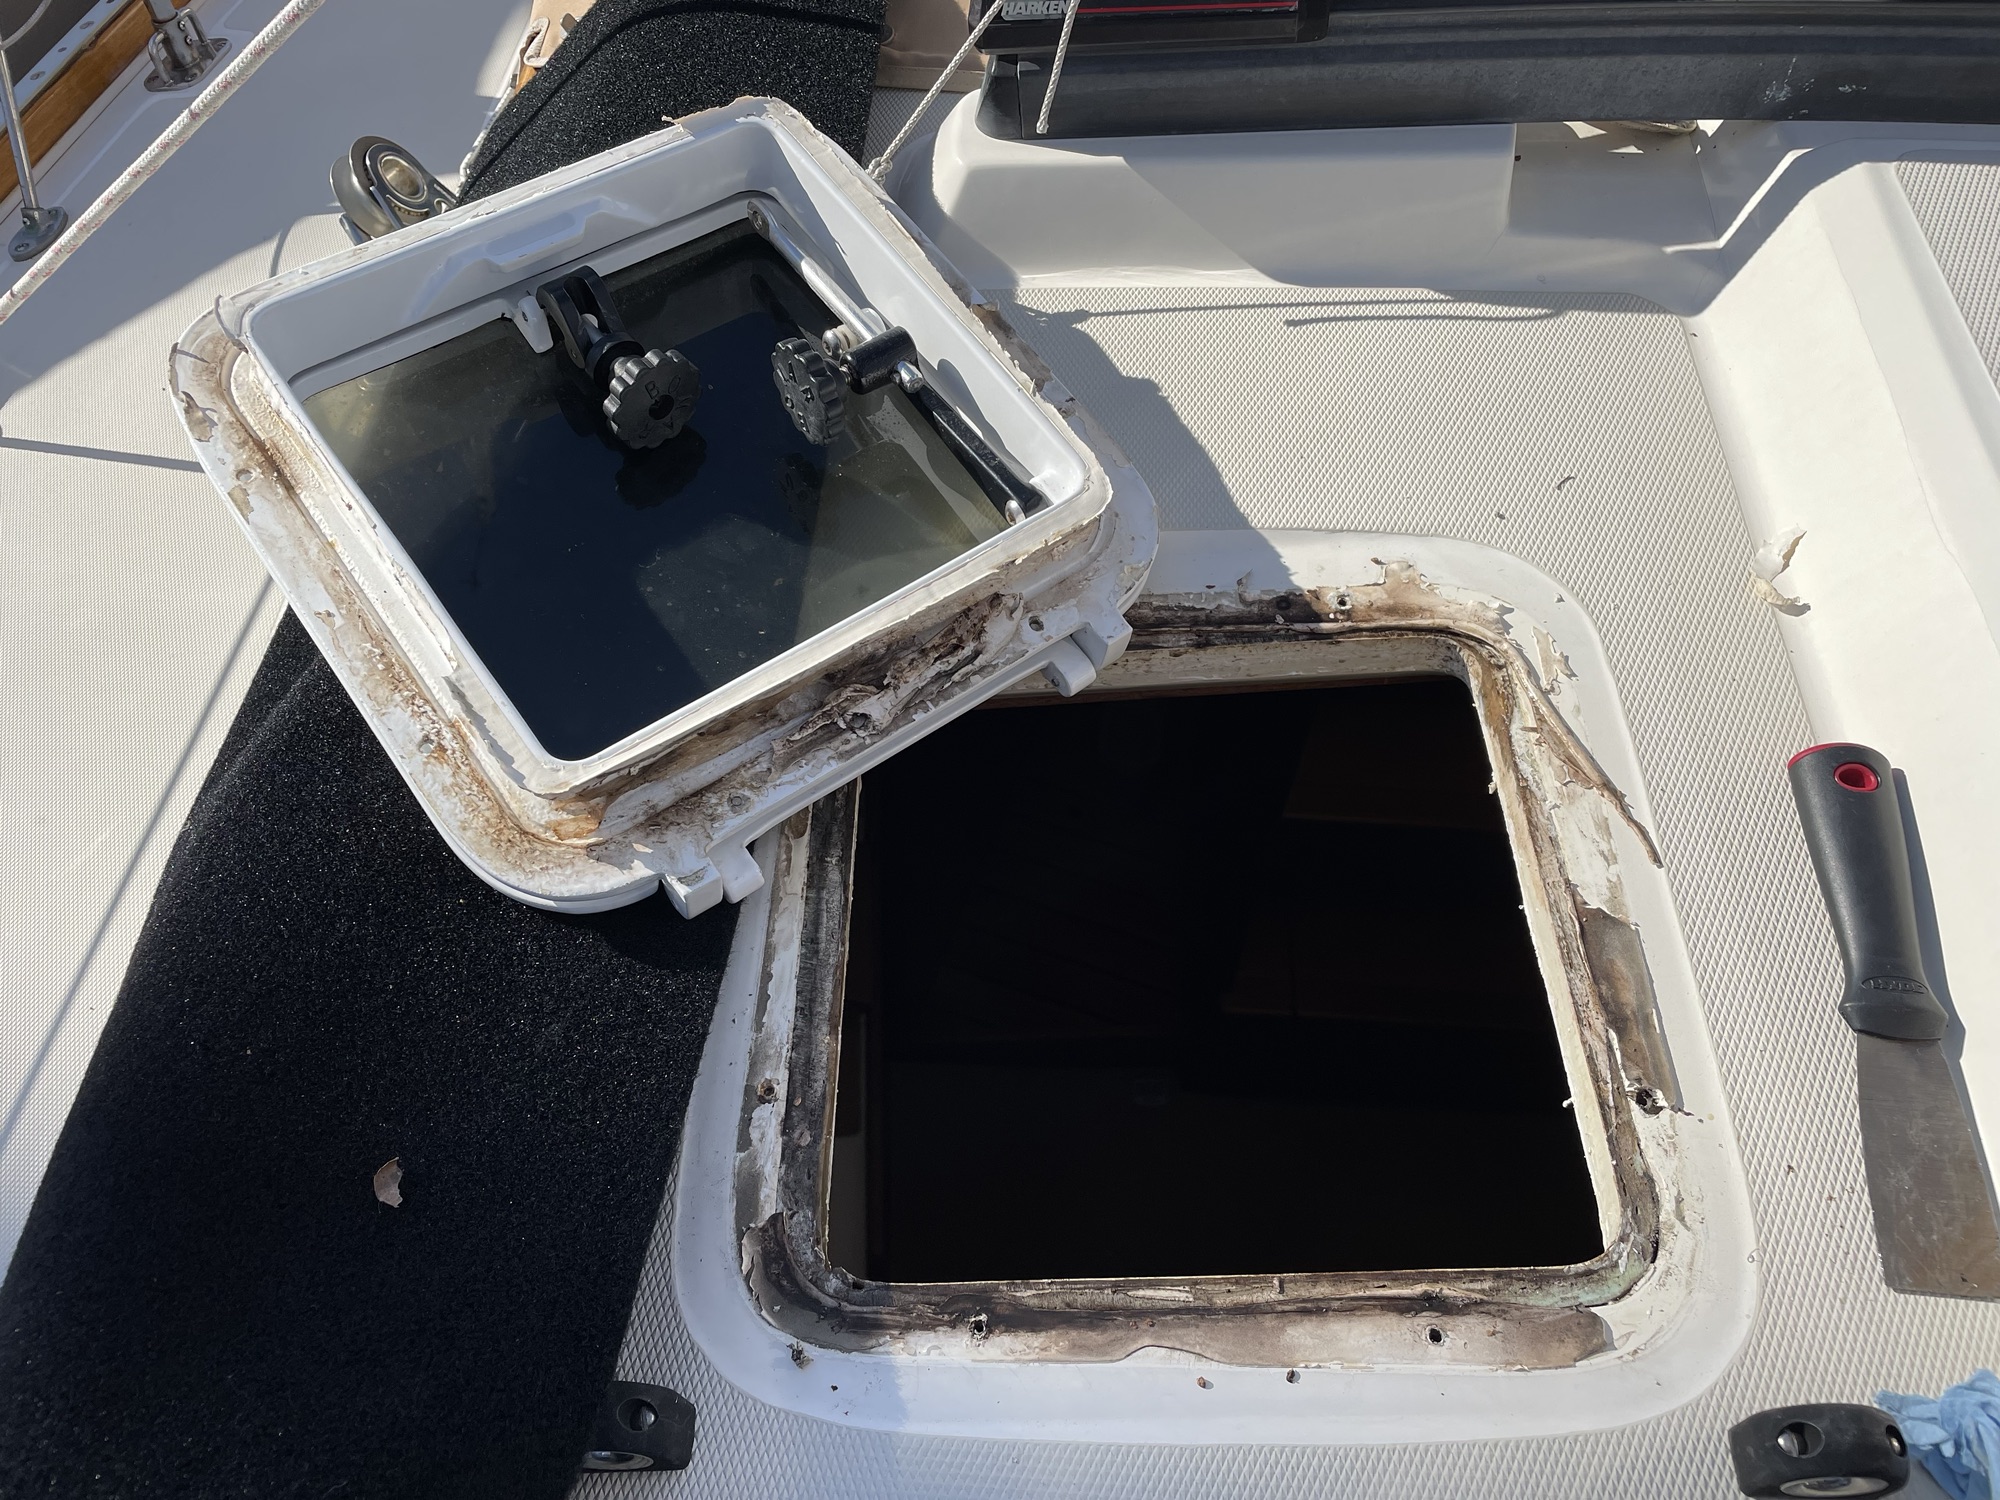
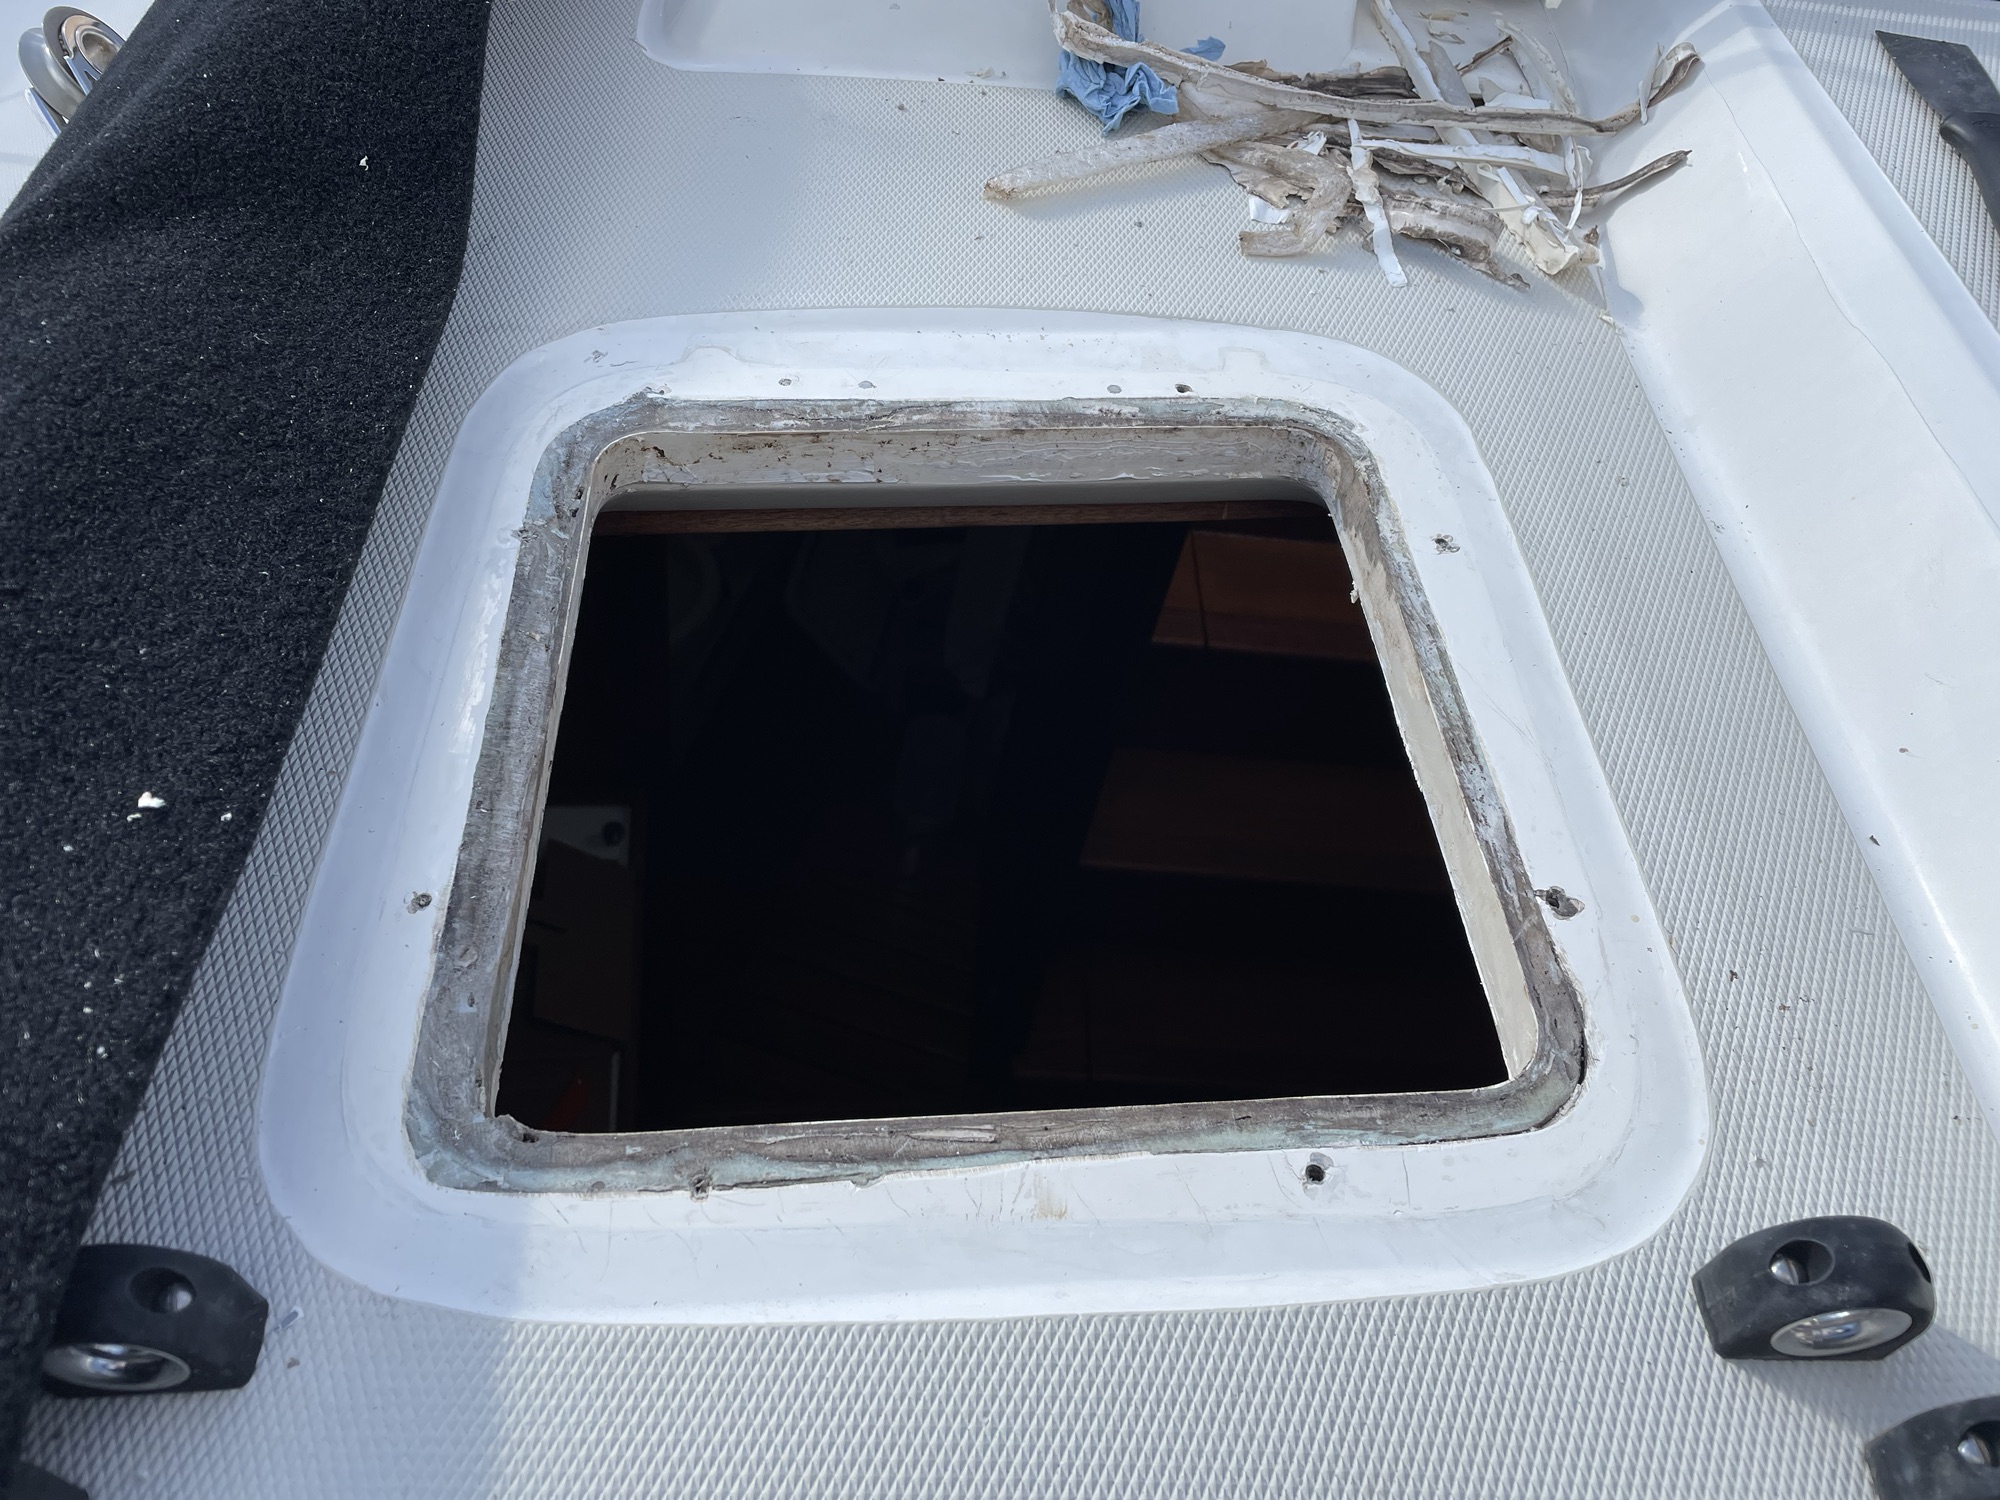
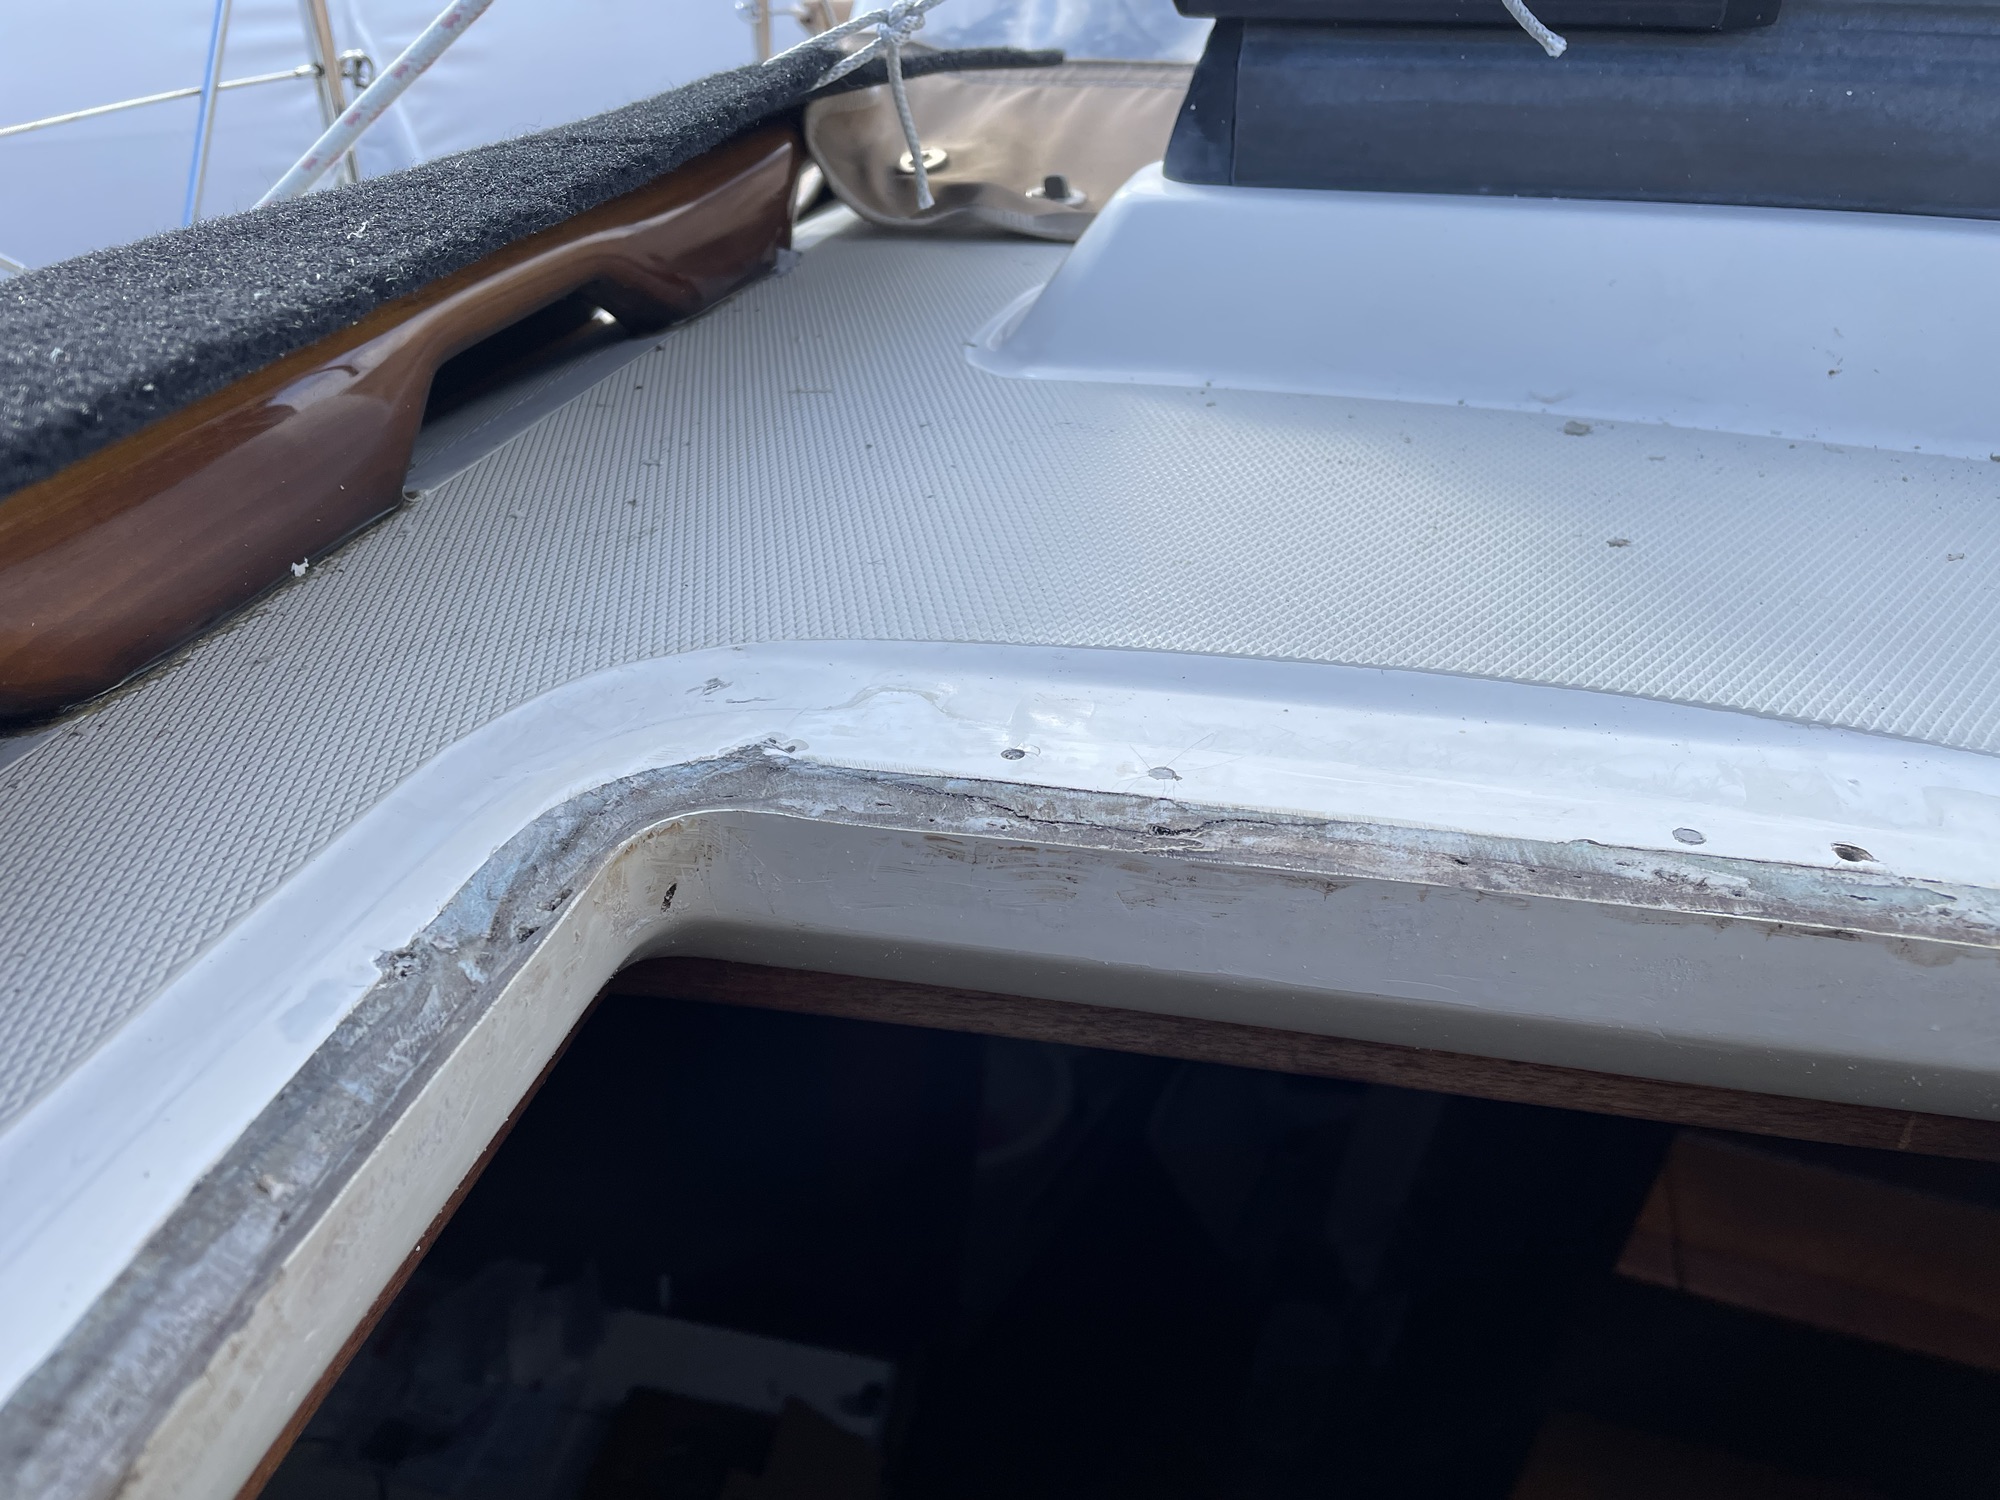
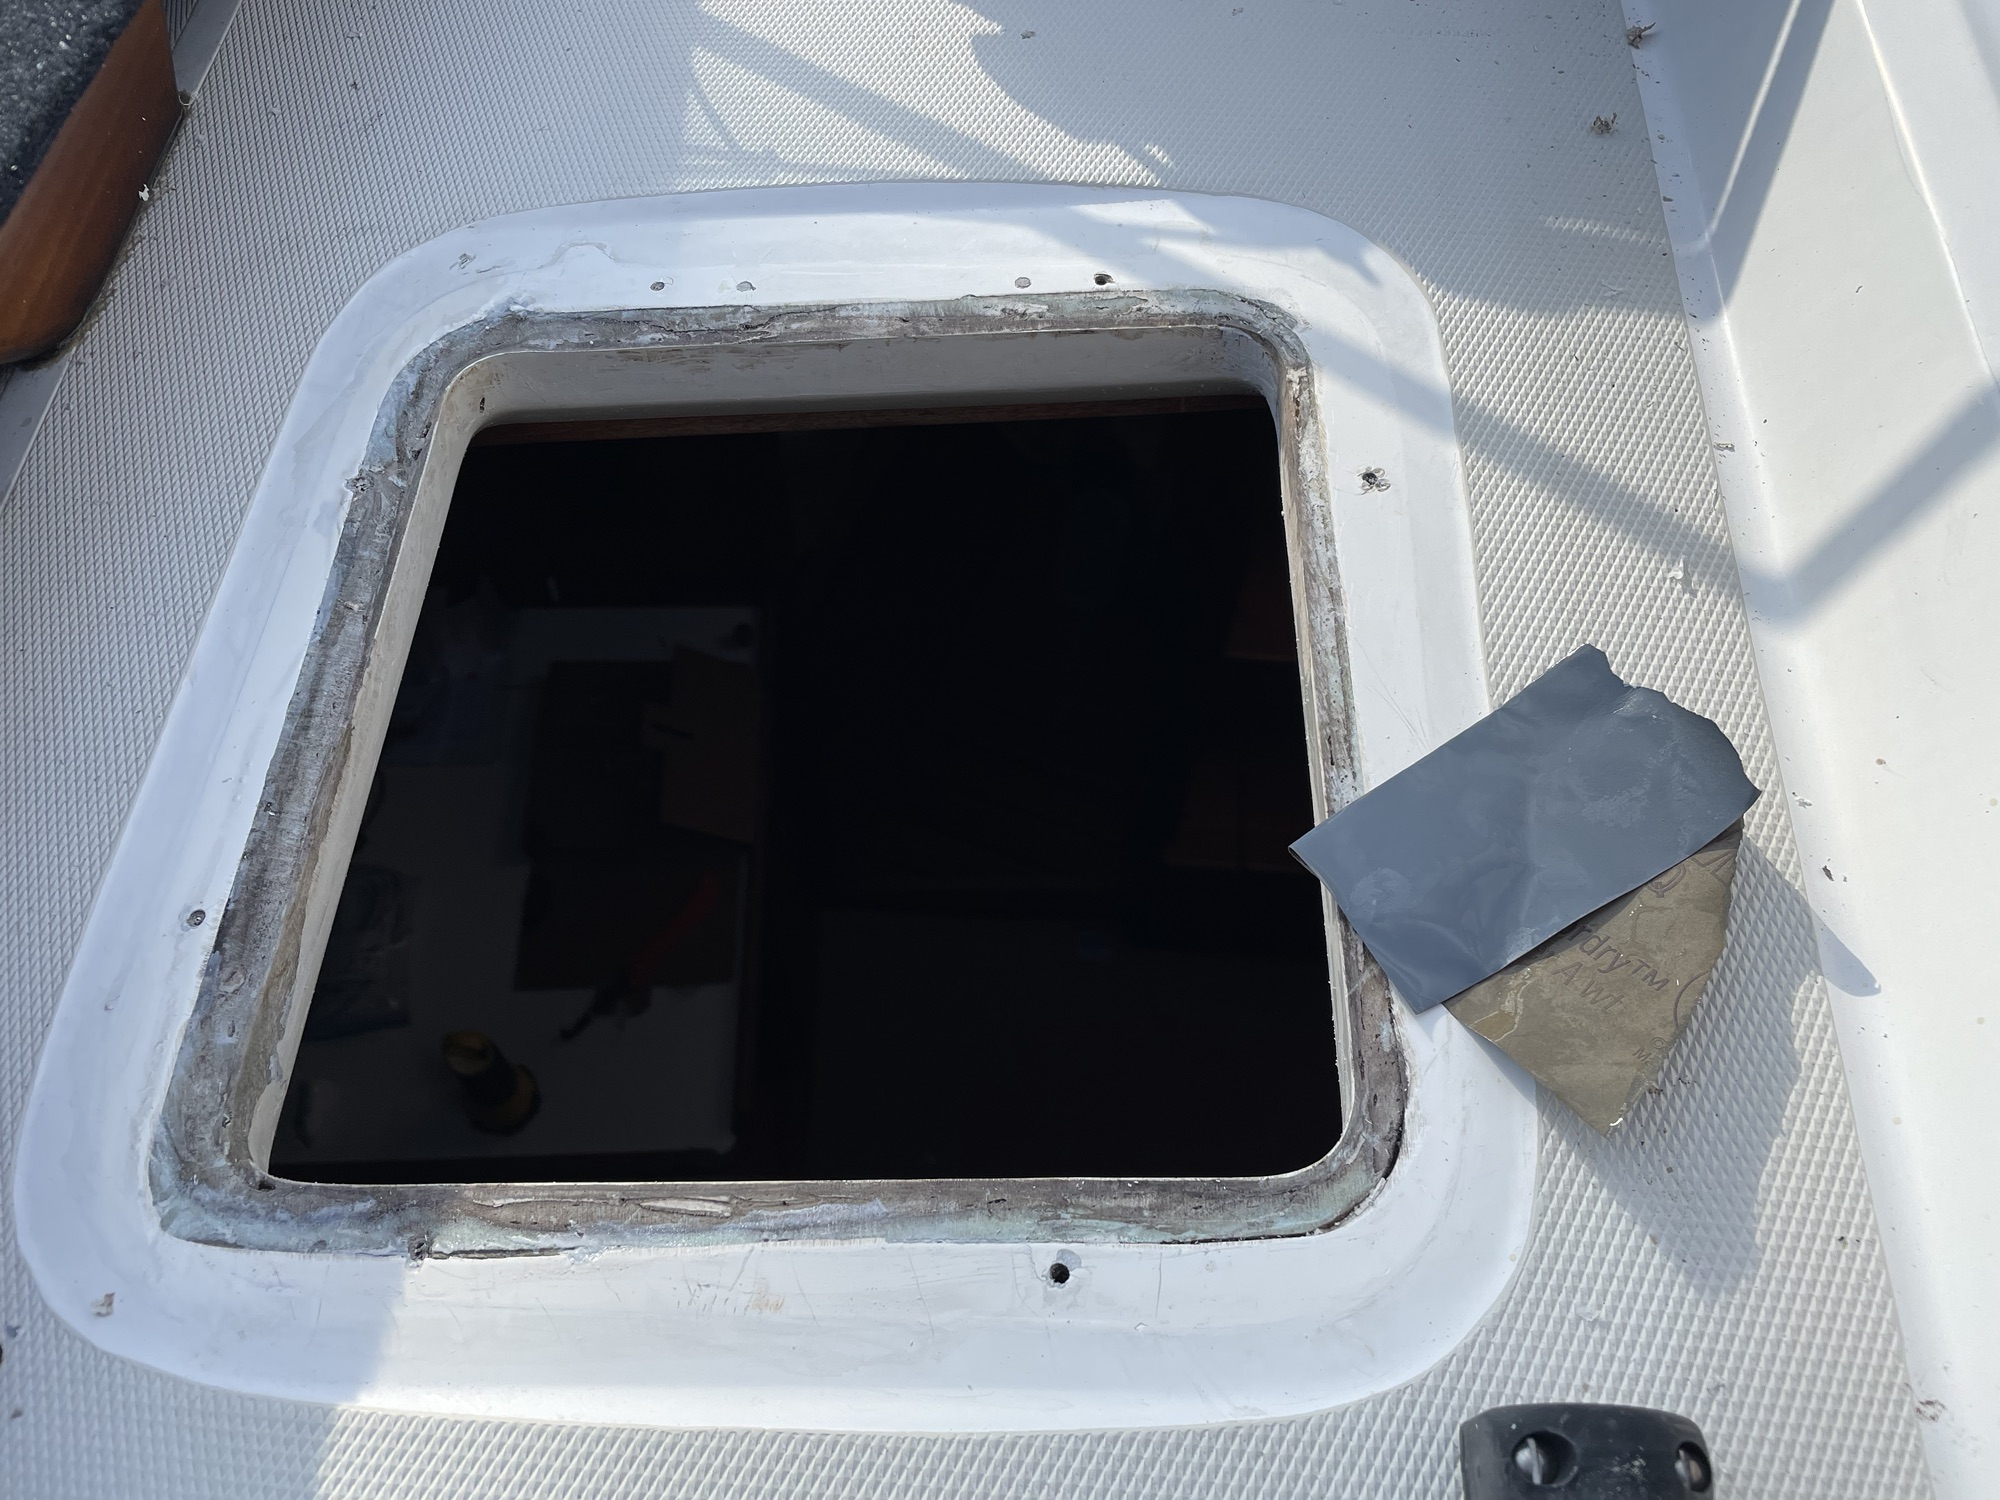
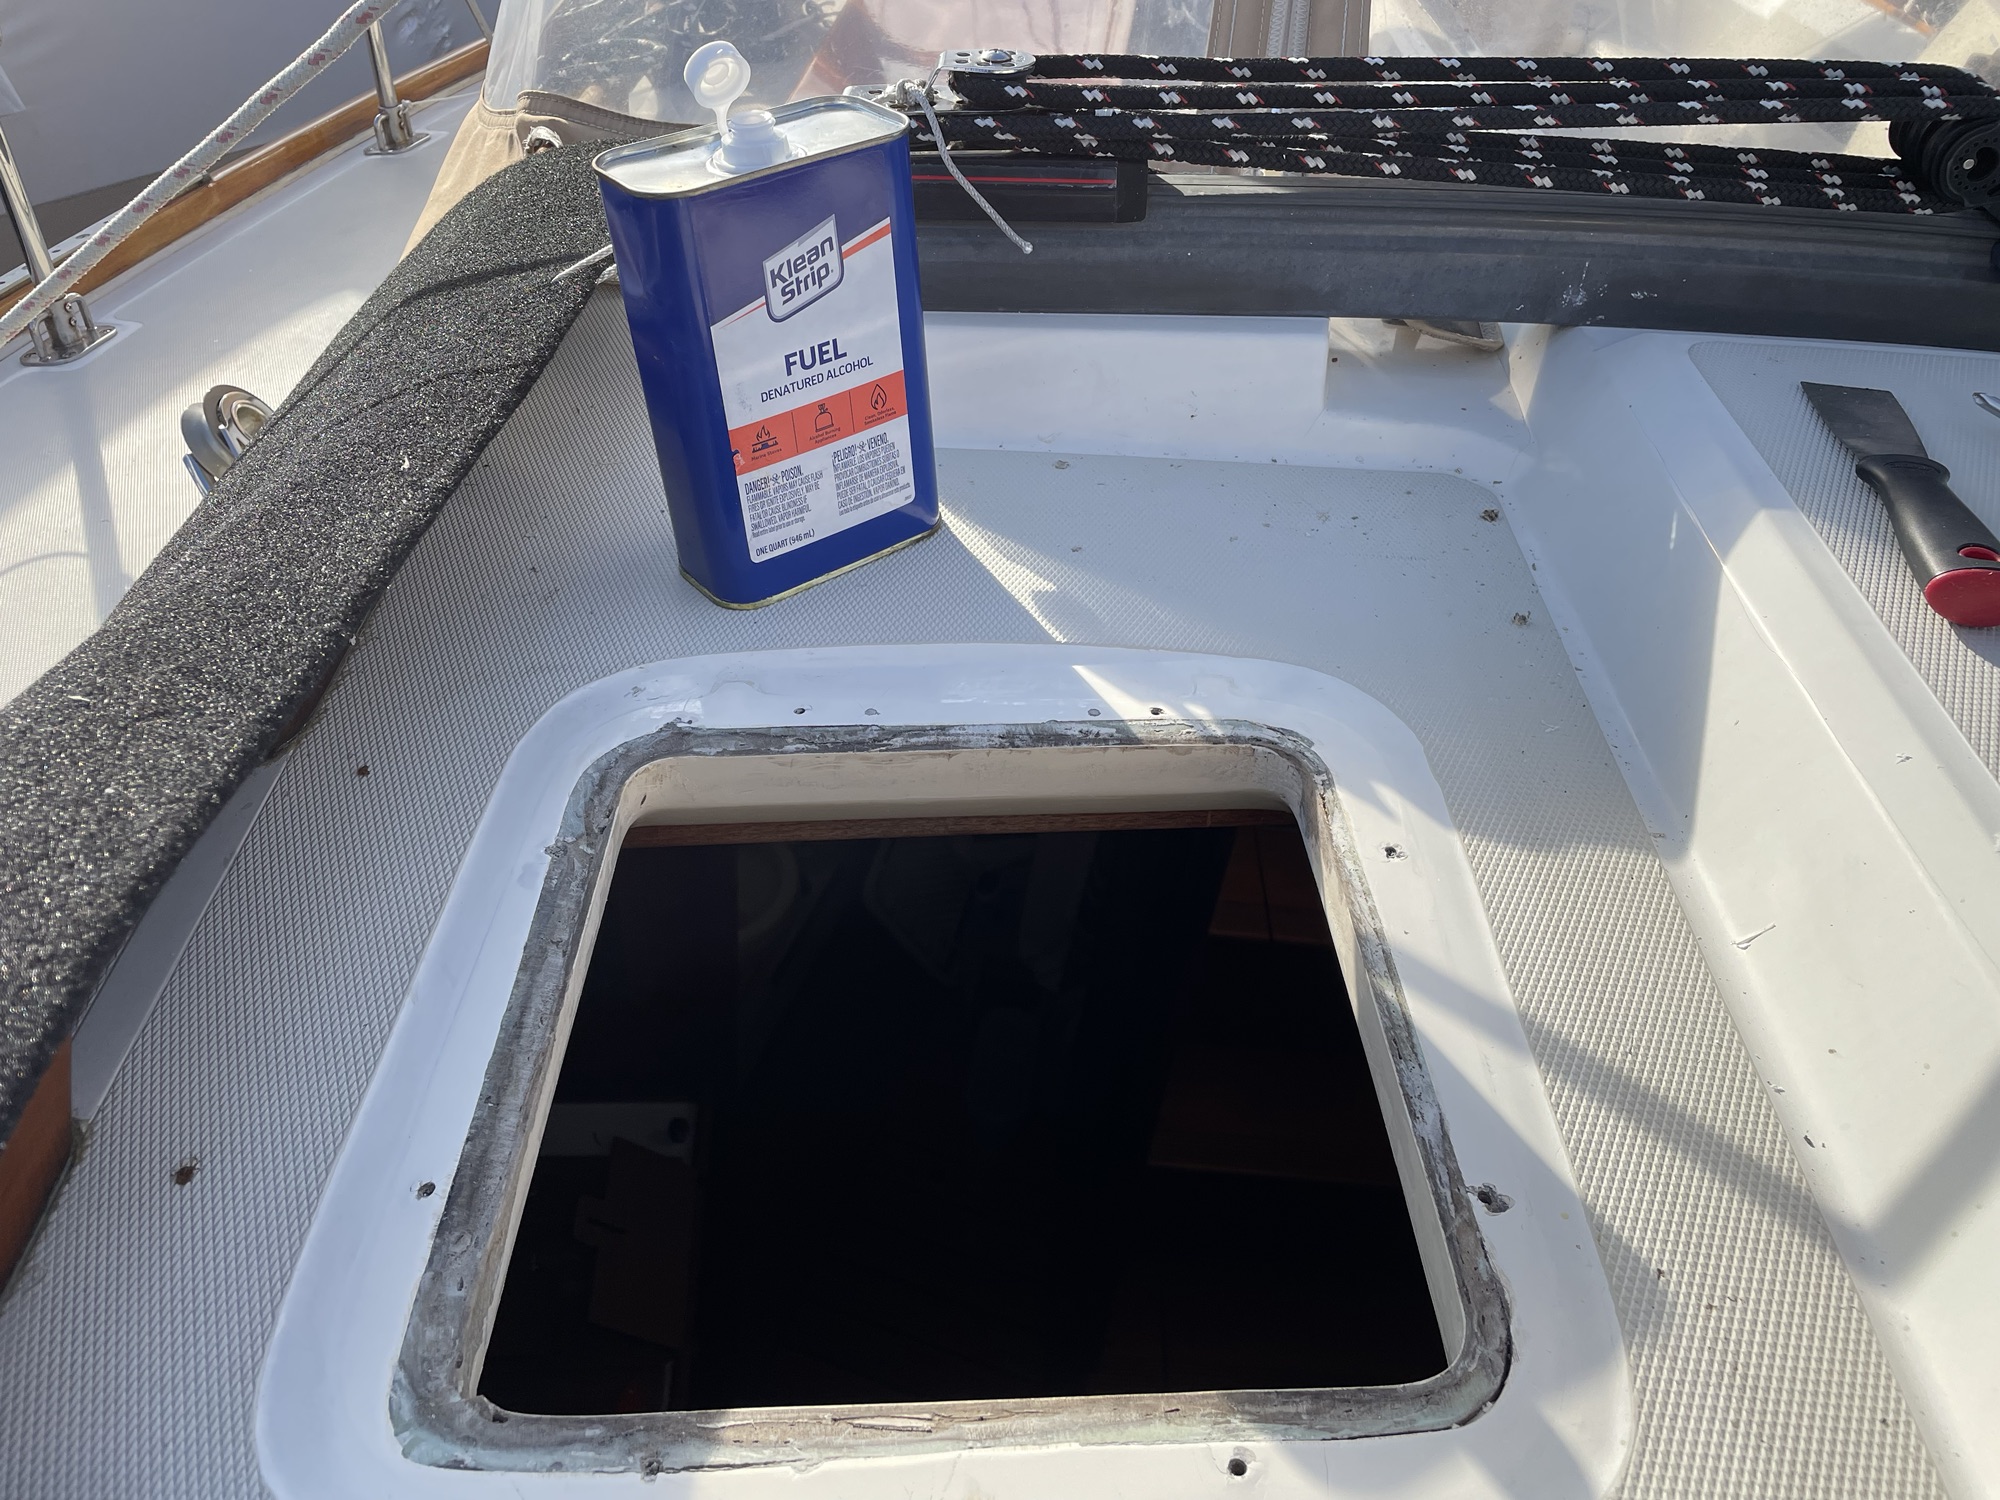
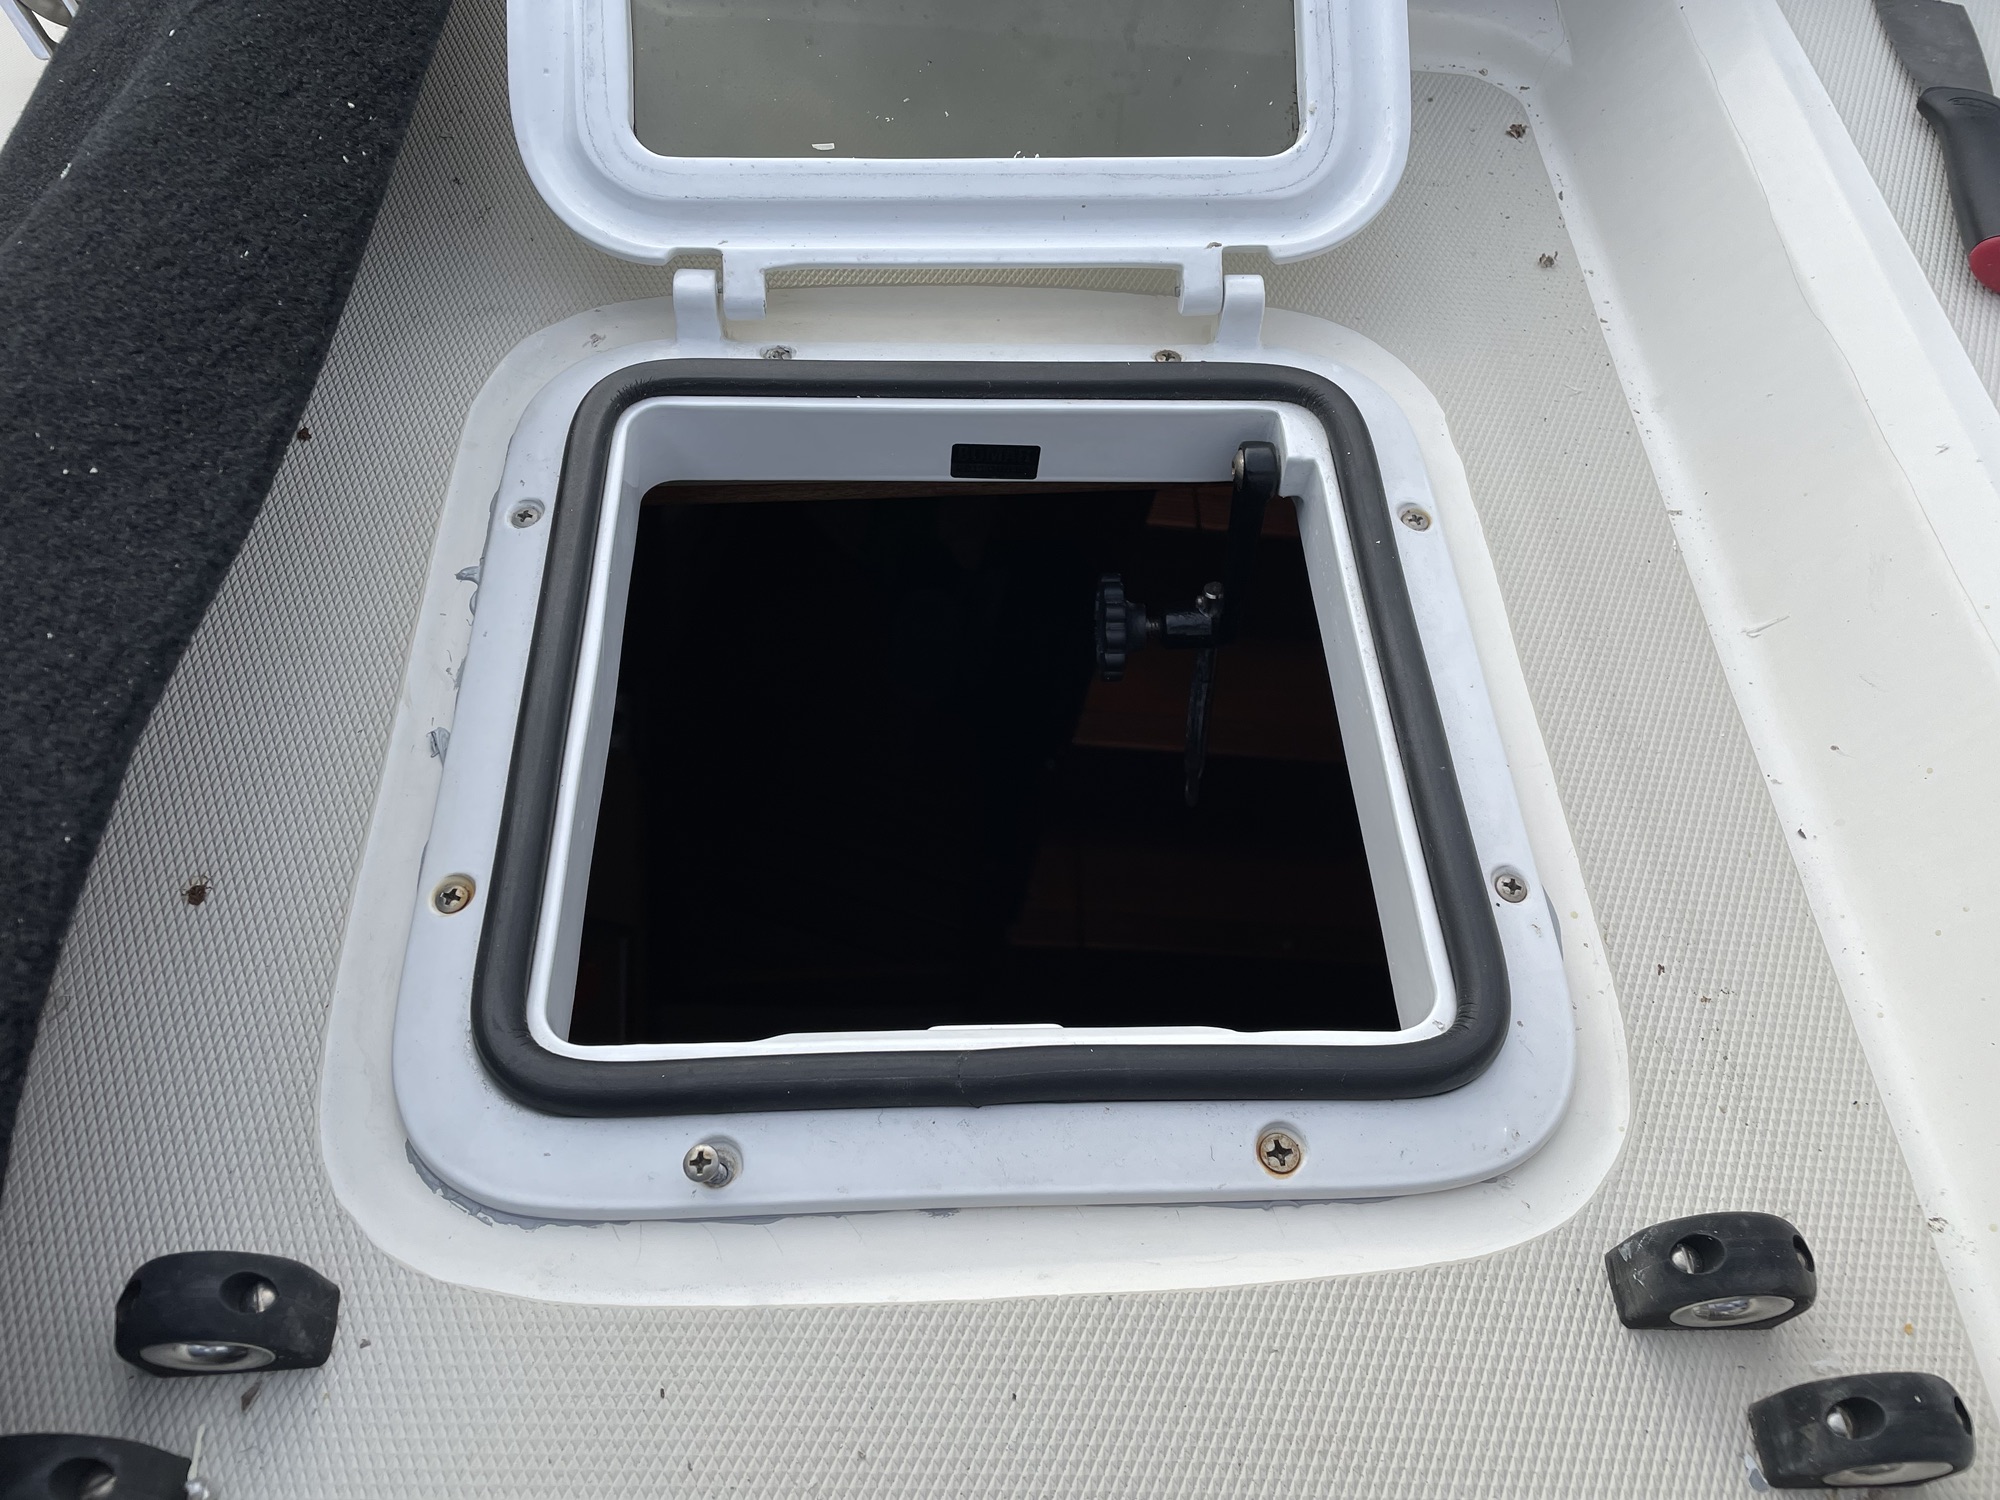
On both of my Sabres, white caulk was used to seal the gap between the underside of the hatch frames and the under-deck headliner. This is entirely for aesthetic purposes, as the last thing one would want to do is to trap water in this space that had already leaked past the seal at the deck. To remove Sabre hatches, begin by breaking the bond between this strip of sealant and the headliner to make the hatch easier to remove. In the photo above you can see the break being made. Next insert a scraping tool between the deck and the hatch frame. The instant I started the process on this particular hatch on Blue Moon it was abundantly clear that preparation of the mating surfaces for this hatch had been dismal, as the hatch popped right of the deck with virtually zero resistance. In the opposite case – when preparation has been correct – it will require a considerable amount of force all around the hatch permitter to break the seal. The same was true on the starboard side porthole I had Hinckley re seal (at no charge) in the spring: the trim ring around the porthole popped off with zero resistance as soon as a straight screw driver was inserted to pry it loose. The cause was immediately clear: the glossy, shiny appearance of both the work piece and the deck gelcoat indicate neither had been scuffed to give the sealant a texture to which it could properly bond. The exact same problem was seen underneath this hatch.Using a razor, scrape away the old sealant. The objective is to get down to solid metal (on the hatch frame) and gelcoat (on the deck) with nothing left coating either surface. Almost there! If Hinckley got this far in the surface preparation process, they probably stopped here and simply applied caulk, then screwed the new hatches in place. That will result in a leak time bomb for the boat’s owner, and one that Hinckley was probably perfectly happy with since they could simply bill a second time to fix a problem of their own cause a few years down the road. That’s a nice profitability model for a premium yacht services business, but a raw deal for an owner putting his or her faith in the Hinckley brand name and its reputation for quality. Look closely at this photo. Notice how the gelcoat of the deck is just as shiny where the hatch formerly mated with the deck as it is in the surrounding area? Even if the mating surface had been properly cleaned, no sealant will adhere to a surface that is effectively as smooth as glass! Mating surfaces for sealants or paints must have very fine scratches as a texture to allow materials to bond to them. As a means of both completing removal of remnants of old sealant and creating this textured surface, wet sand both sides of the mating surface (the gelcoat on the deck and the underside of the hatch), then thoroughly dry and clean. This vital step would have taken Hinckley just 5 minutes per hatch!!!! Thoroughly clean both sides of the mating surface with acetone or denatured alcohol immediately before applying sealant. Be sure to apply a bead of sealant to both the deck surface and the underside of the hatch frame, and rub it in with your finger to ensure complete coverage and adhesion. On Sabre’s recommendation, I use 3M 740 sealant for hatch frames. Once the hatch frame is screwed down, carefully wipe away the excess from the edges for a neater appearance (not yet completed in the above photo). If desired, once the new caulk has cured and you have confirmed there are no leaks after a heavy soaking, you can replace the bead of sealant down below between the hatch frame and the headliner for a more finished appearance (I didn’t bother doing so on my Sabre 42). If applied correctly, these methods should ensure that your hatches and portholes will not leak for a minimum of 10 years!