By Rich
Our “revised” departure date for Newport is Thursday after next (that’s right, we missed the original departure date by a mile) and the pace is frantic trying to get all of our projects in. Some have been deferred to Newport entirely.
With time at such a premium a photo essay will have to suffice for today’s long-overdue post. The only color commentary I’ll add is this: working full time and trying to prep for long distance cruising feels like working two (or three) full time jobs. At present it’s pretty brutal but with long awaited rewards just around the corner we’re fueled by dreams of our first sundowner on the mooring in Newport.
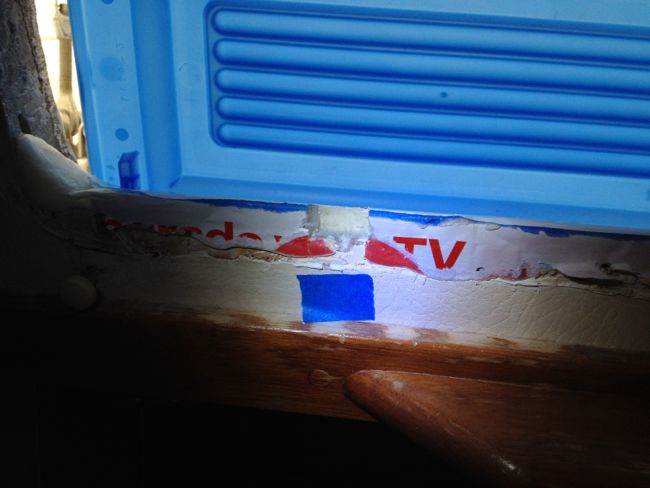
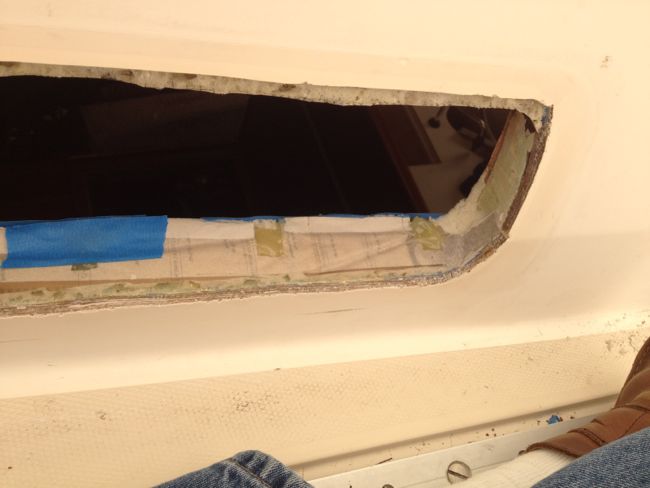
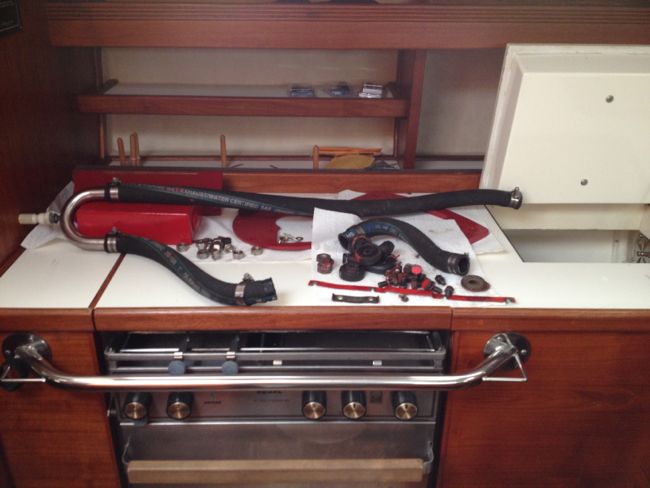
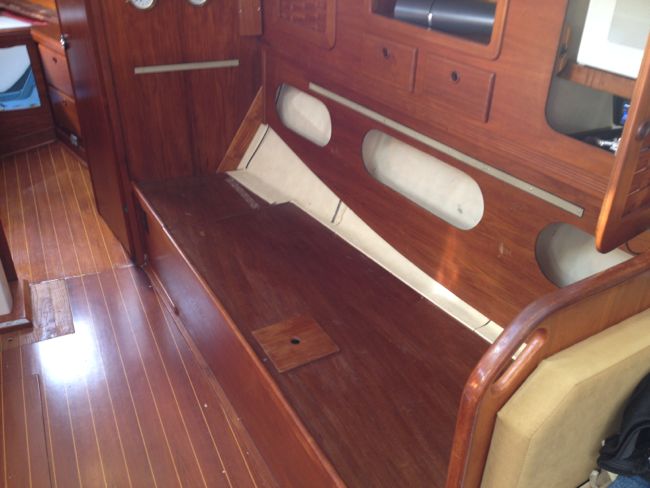
Below: The porthole re-bedding work continued and was vastly complicated by the fact that those who replaced the original (plastic) portholes with these fancy metal ones not only didn’t seem to care that the holes in the deck were too big, but simply allowed the fastening screws to strip when they barely contacted the boat’s deck (or were “screwing” into thin air entirely). This meant laying down epoxy after the foam was added to fill each porthole’s gap, then re-drilling a hole so the screws were actually DOING something. Each porthole proved to be a massive amount of work and two of the six will have to wait to be re-bed in Newport. Those that have been rebed have ugly excess caulk that will be trimmed away in Newport.
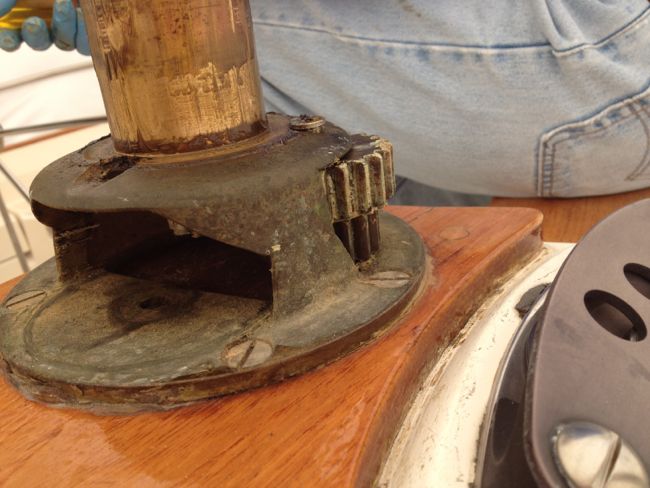
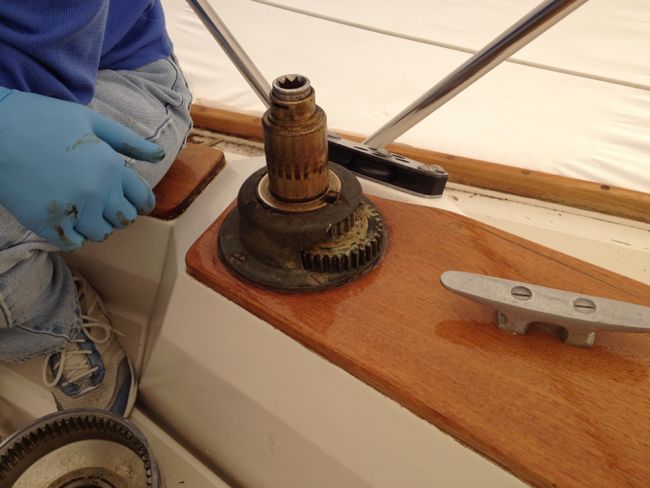
Lisa and Brian put in full days rebuilding every winch on the boat. Some hadn’t been used in so long that they’d developed a green mold where grease should have been. Most were totally dry and caked with (too much) grease that had taken on the consistency of pie crust.

The transmission and newly-straightened prop shaft were put back on the boat by our diesel mechanic and a long list of engine maintenance items & repairs were completed.
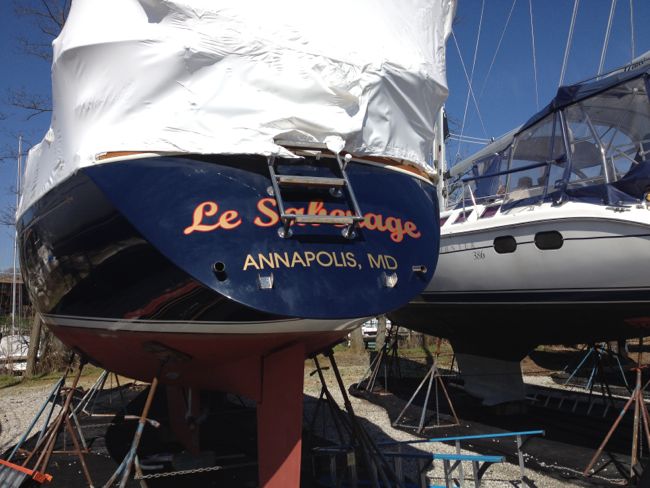
The boat’s pretentious former name was buffed out by Brian so new graphics could be applied.
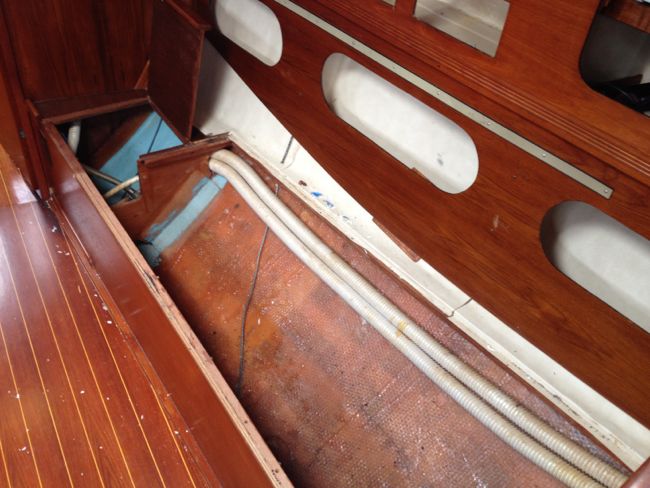
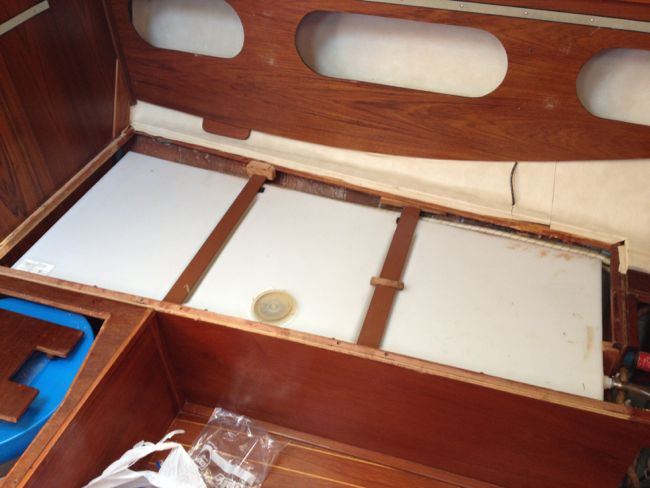
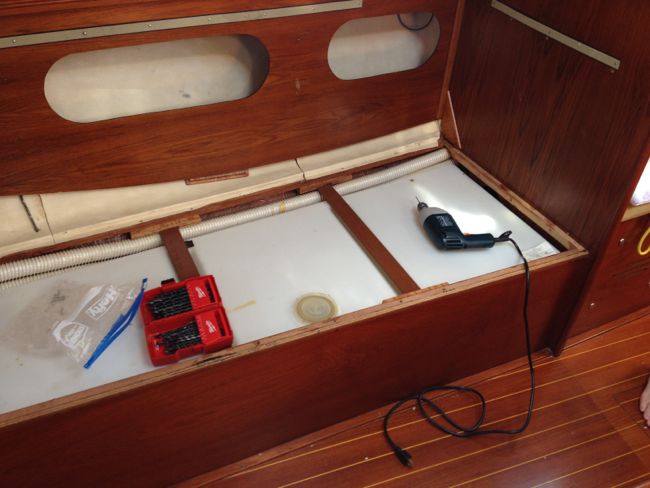
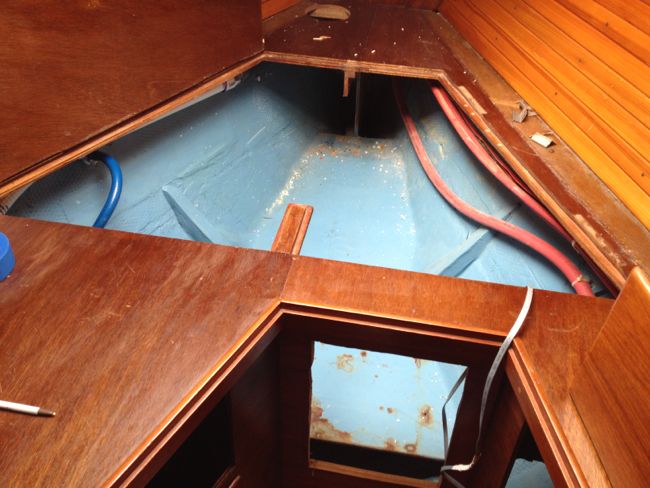
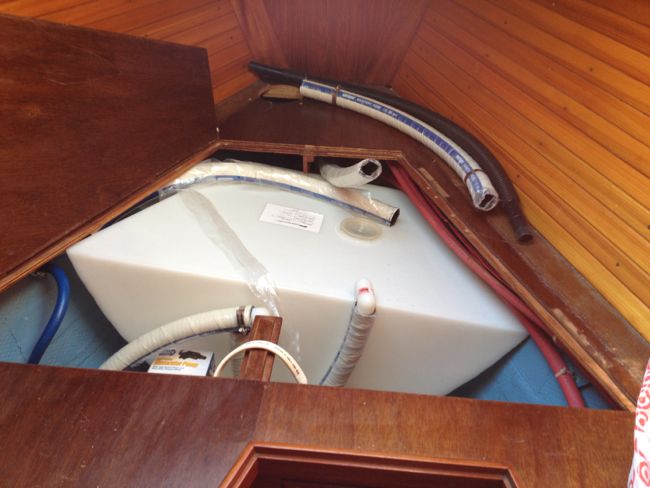
The water tank storage areas were thoroughly cleaned.
While chasing down the intermittent bad smells coming from under the V-birth, I eventually decided to remove the forward AC unit to clean it properly and to gain access to the aft side of the holding tank so I could inspect the fittings for leaks. While attempting to cure holding tank smells, the prior owner had fit PVC instead of marine sanitation hose to the holding tanks. I’d begun to wonder if this PVC retrofit might have damaged the fittings or the tank.
Side note to readers: don’t plumb anything on a boat with PVC! PVC is rigid, which means that as the boat flexes or items shift, the plumbing applies a lever arm to the fittings where they meet the tank. Also, if not properly winterized, PVC can crack when water in the pipes freezes, then flood the boat in the spring when it thaws. Very expensive boats have been sunk when manufacturers or contractors have failed to follow this elementary rule of marine plumbing.
Once the AC unit was out, I discovered that not only were the holding tank fittings both leaking, but the prior owners had been aware of it: instead of removing and inspecting the fittings, they’d simply attempted to glob caulk on the outside of the fittings and hoped for the best. Pathetic.
I began removing all of the PVC from the forward tank and then tried to remove wood braces that held the tank in place so I could access the fittings. The wood was fastened into place with counter-sunk screws.
Side note to boat manufacturers: don’t do this! If you fasten a wood item in the bilge of a boat with counter-sunk screws, the wood will swell around around the head of the screws which will then be impossible to remove without destroying the wood and / or damaging the item it is screwed to. Use lag screws instead, or if you absolutely must counter sink, make a very generous counter sink to allow for swelling.
To remove the bracing I had to chisel the wood into pieces around each screw – hammering dunnage-soaked wood into splinters for hours. The task and the work area were so thoroughly revolting that at one point I literally crossed into a mode of laughing at how awful it was -as though I’d circumnavigated the whole mental spectrum of misery and arrived back at hysterical.
Side note to readers: If you are ever tempted to dismiss blog posts about sailing adventures as being self-indulgent, please come back and re read the above paragraph. We will have earned our indulgences this summer.
Once the wood braces were removed I took out the tank fittings and found that the PVC had indeed cracked the tank where the fittings threaded in. Now the gig was really up: the entire holding tank and all of its associated plumbing had to be removed and replaced.
Since the aft holding tank had also been retrofitted with PVC plumbing by the prior owner I decided I’d better inspect it too – so I removed the floor of the starboard sail locker to gain access to the tank. Care to guess what I found? Look below. This tank was also cracked by the owner’s household plumbing retrofit and there too caulk had been blobbed on to try to half-ass a fix to the problem. Note the obvious crack at the lower right of the manufacturer’s label and the lame frosting of caulk to try to trap escaping gasses. Doubly pathetic. Another order went in to Sabre for a second replacement holding tank – but this one won’t arrive in time and will have to be installed on the mooring in Newport.
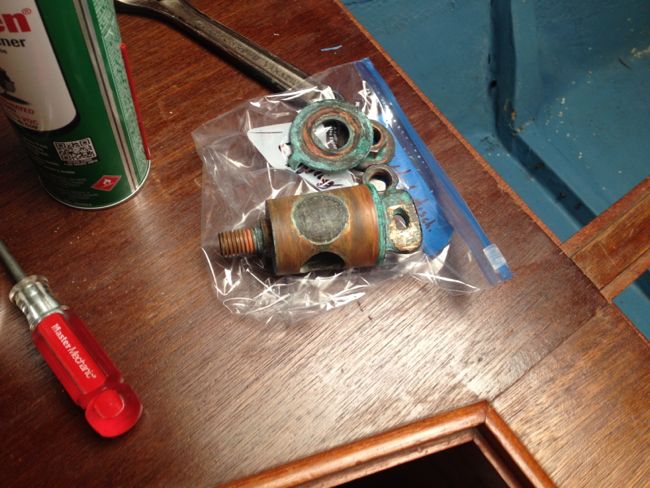
While waiting for the new forward holding tank to arrive I took apart the bronze seacocks to re grease them (most had pretty much seized up by the time I hauled the boat out last fall). I found several had worn badly enough (through poor lubrication) that I needed to lap fit them. They didn’t all come out perfectly but in most cases I was able to significantly improved the contact area of the barrels.
Below: before. Most of the contact in this seacock is the lighter shade of bronze at the right (handle end) of the barrel. This one isn’t likely to seal well for long after a re-grease unless it is lap fit.
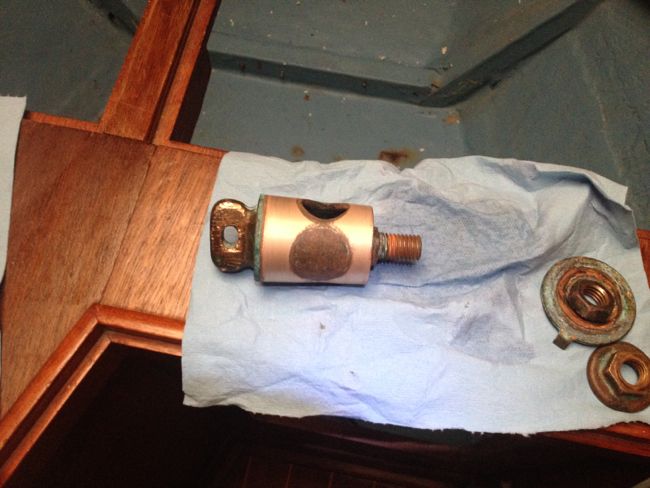
Below: after lap fitting. Lots more contact area.
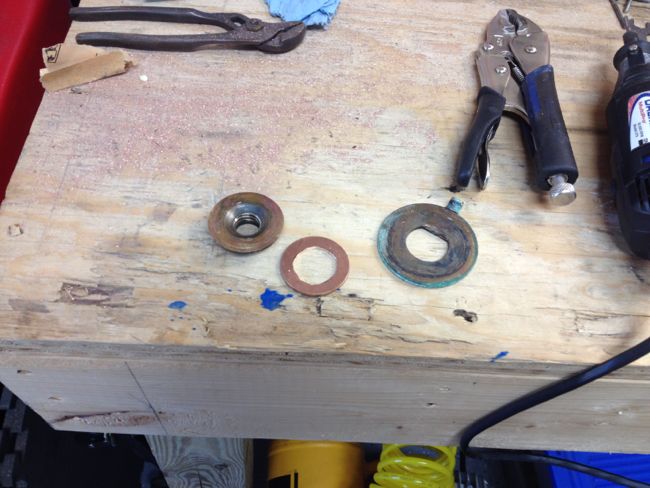
In two cases the lap fitting resulted in seacocks that could no longer be tightened fully before the nut ran into the bottom of the threads, so I bought some bronze washers and ground out their interior diameter to form shims:
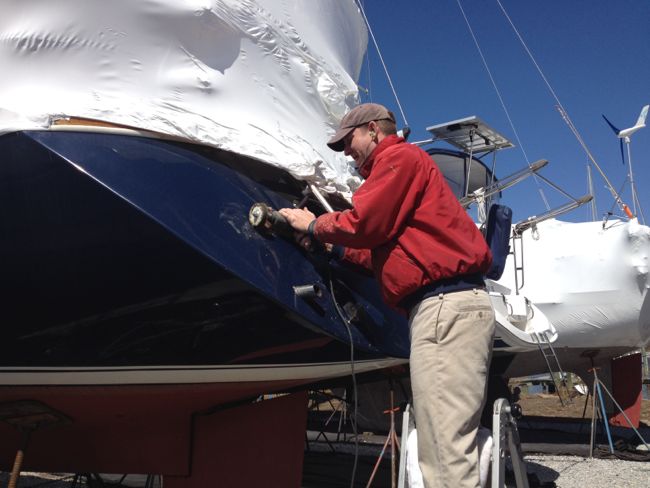
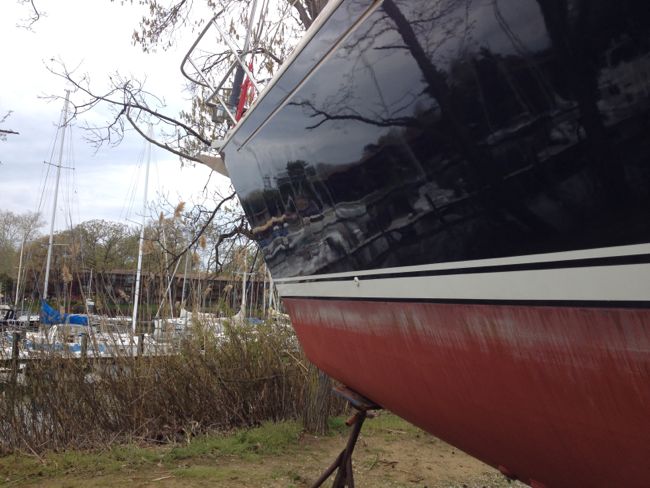
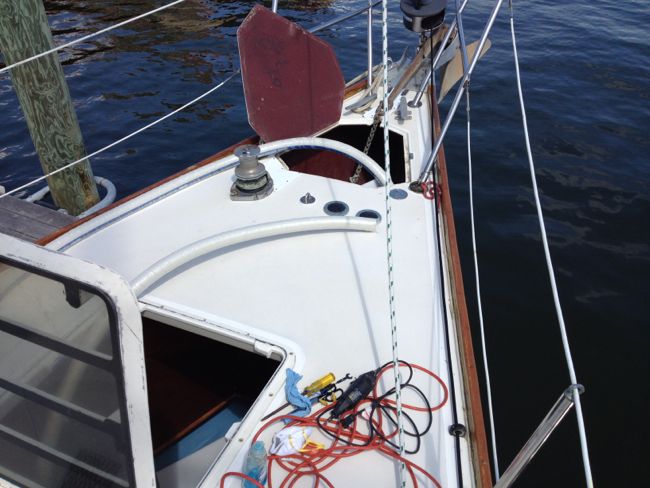
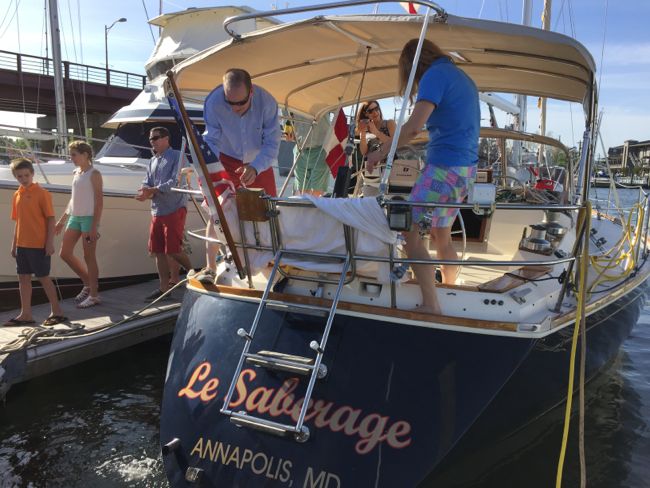
Just before launch, we quickly touched up the bottom of the keel…
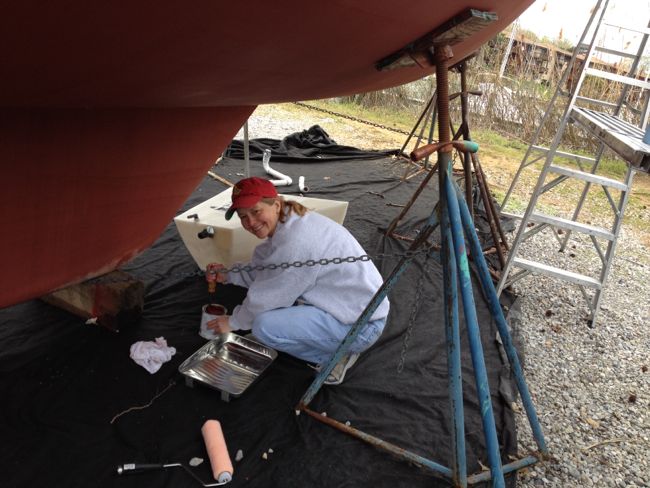
…and had Boat Shine buff the hull for us.
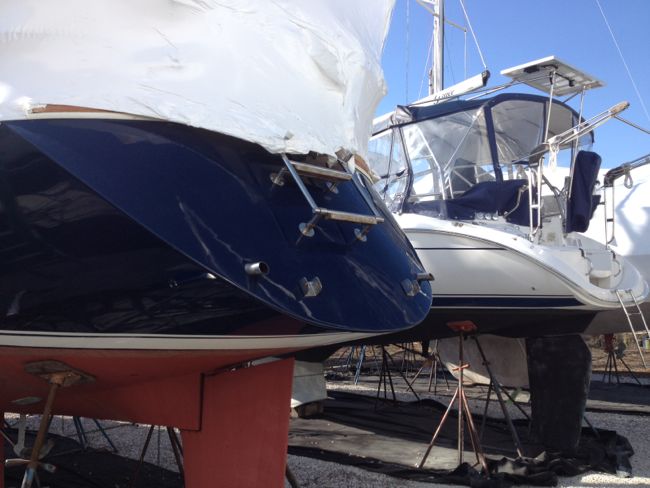
Now Seb was ready to be launched…
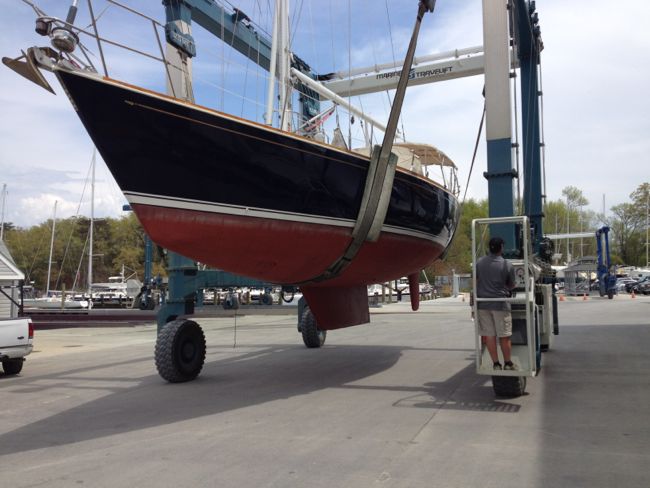
…and I discovered with joy that my seacocks were water tight and performed well. With a full tank of diesel but no water tanks or personal items aboard, she trimmed out well aft. Combined with her normal trim out to starboard when empty with the centerboard up, the appearance was strange enough that we would get a phone call the following week from a fellow boater who’d noticed the strange trim when running by her at her mooring and worried that she might be taking on water.
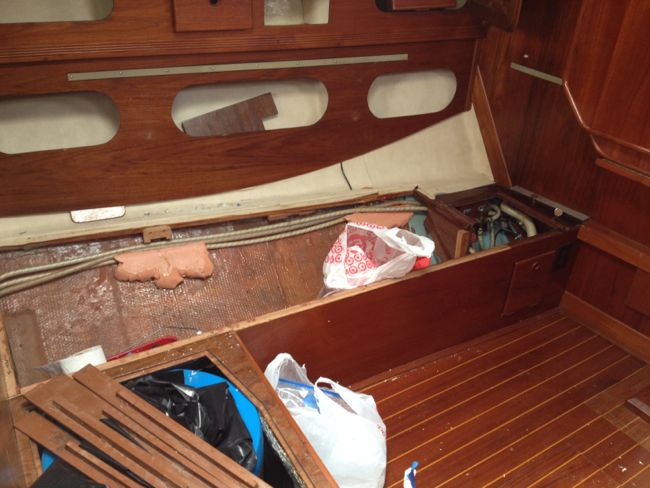
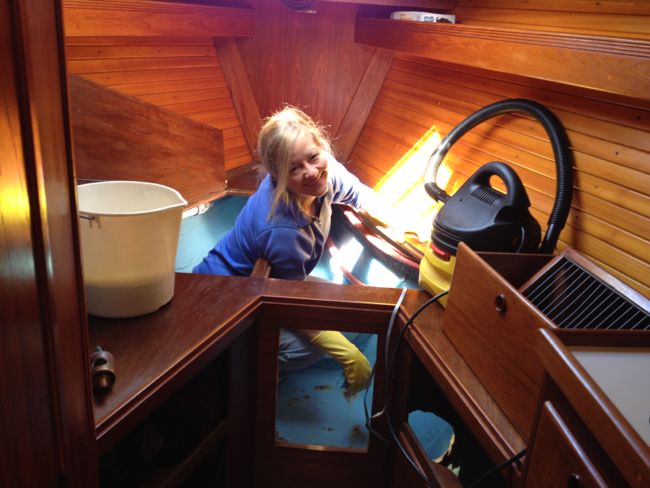
 Next we had to tidy up the interior, which was a war zone resulting from all of the winter projects.
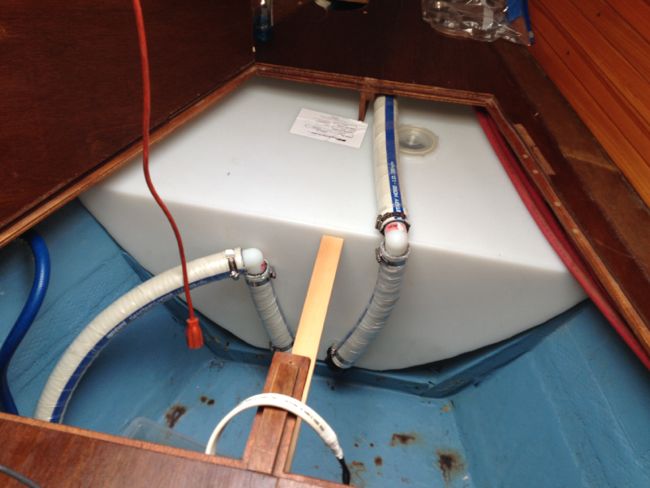
  We re installed and tested the water tanks, which had been cleaned inside and out and had new fittings installed….
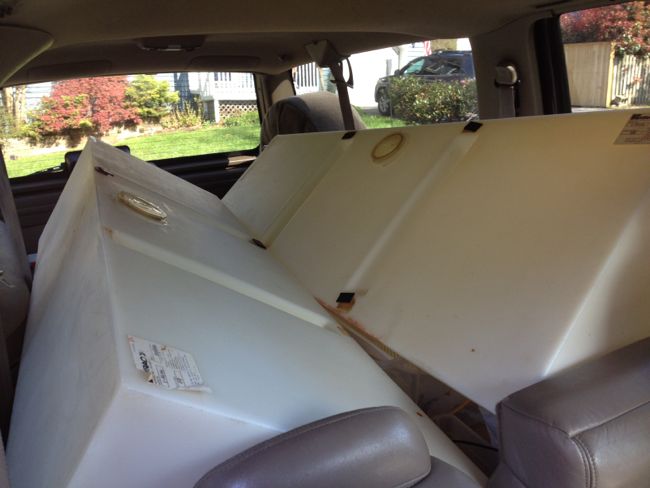


…which freed up the salon for Lisa to start cleaning.
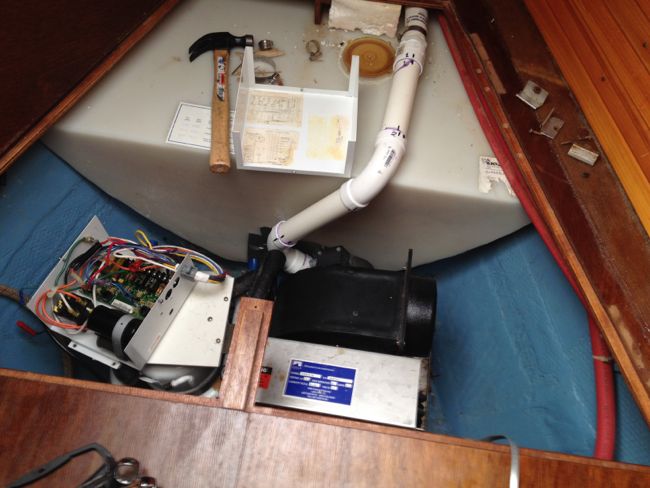
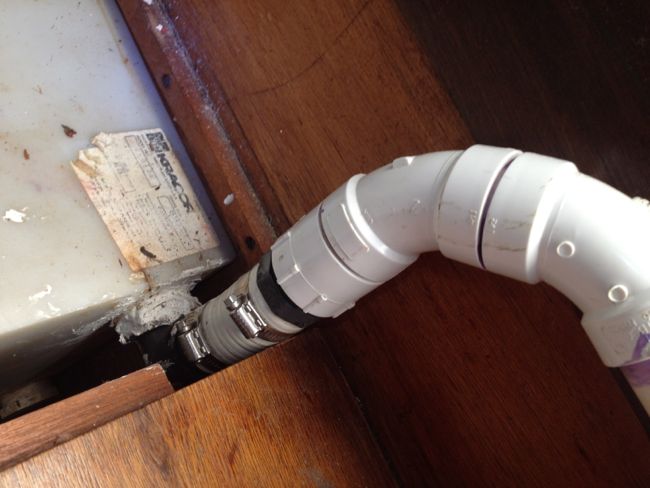
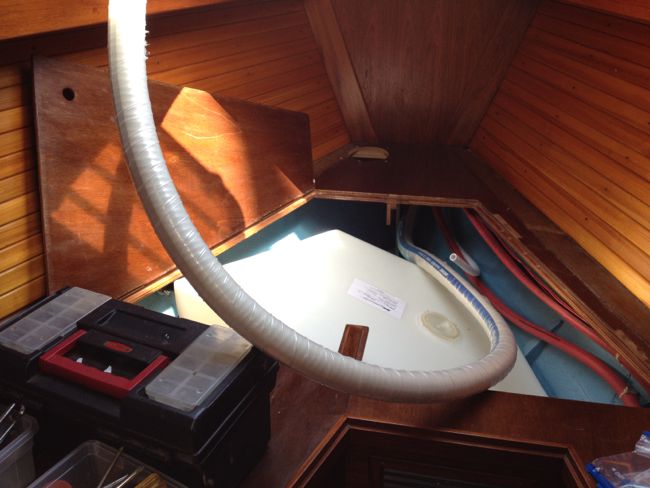
The new forward holding tank arrived and is currently in the process of being re-plumbed and fastened into place. It has been a ton of work but is 90% complete assuming last night’s leak test is a success.

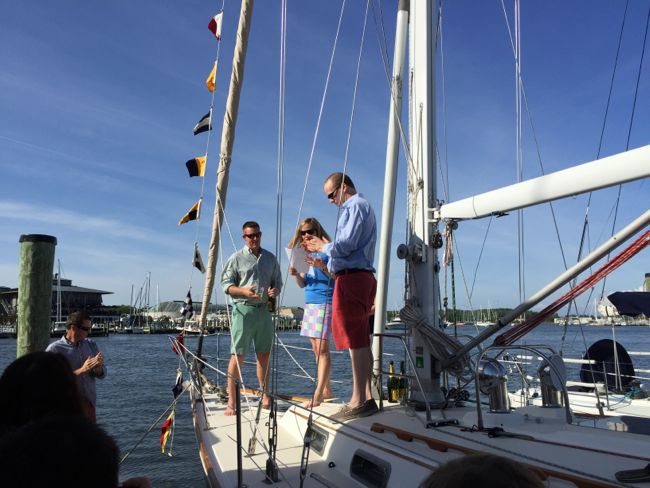
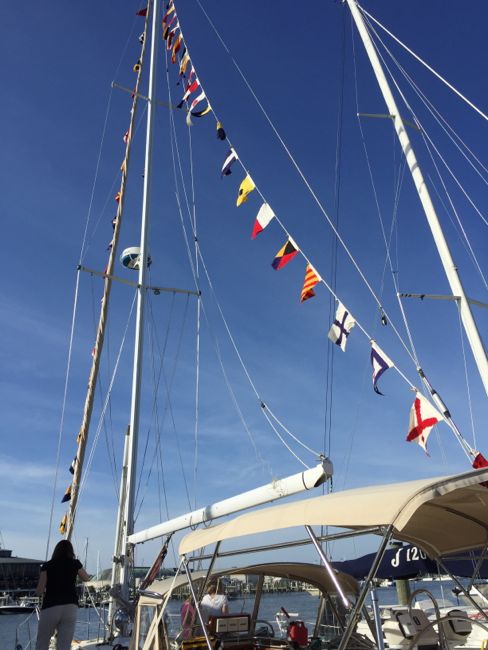
We even squeezed in enough time for a formal renaming ceremony.
As I type the riggers are scheduled to be installing all of the new cordage and lifelines. We still need to finish up the install of the forward holding tank and get the main sail on – after which we immediately need to swing into voyage provisioning mode. It’s going to be a photo finish but we hope to be ready for next Thursday’s departure. And then once up in Newport much work remains. We have one more porthole and the forward hatch to rebed, the chainplates to re bed, and the aft holding tank still to replace. But hopefully after those projects are finished things can settle down and we can relish in the rewards of so many late evenings and long weekends of work so far this year.

Looks really good. All this hard work will pay off. you guys have a great boat!
Thanks Glenn! Last evening, while Lisa and I were soaked in sweat and under siege from the gnats and mosquitoes of Bay Ridge, we just kept repeating: that first sundowner is going to be so worth it…..
Well, that previous owner was, well hell, incompetent. Your progress is simply heroic. Seriously, I would have taken a week if need be to get the replacement porthole size correct! But I think chipping befouled wood to remove countersunk screws call for a Congressional medal. Oh wait, Congress is useless, better make it some military variety.
Thanks for sharing such good information