By Rich
There’s nothing more cozy and peaceful on earth than sitting below decks on a boat and listening to a steady rain drum overhead. By a country mile my fondest childhood memories of cruising on our family Pearson 40 were of such moments.
As an adult responsible for maintaining our boat, there’s nothing that can obliterate the magic of those same moments more comprehensively than indignity of having to strategically place one or more salad bowls to protect nice cushions or teak from a leak. Between this past summer living aboard in Newport and this winter working down the resulting “to do” list, I can provide our dear readers with a comprehensive troubleshooting guide for deck hatch leaks.
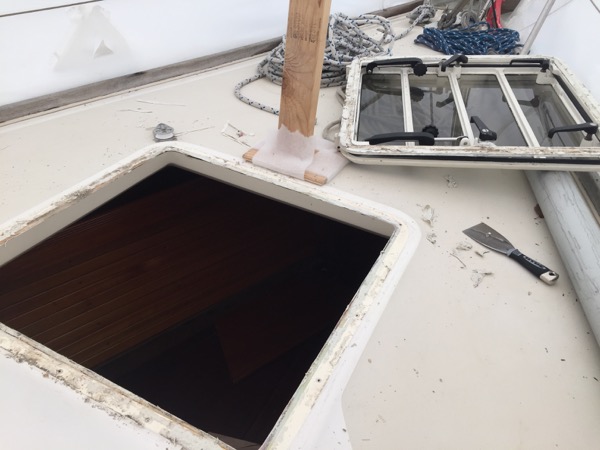
- Make sure you take the time to visit your boat each time it’s gotten a good day-long rain soaking. A single squall isn’t enough. You want to wait until the boat has been doused for many hours. Bring a roll of painter’s tape along.
- Check each hatch for leaks, and be sure to note whether the leaks come from the rubber gasket sealing the hatch or from between the hatch frame and the deck. A third possibility is a leak coming from between the hatch glass (or clear plastic) and its frame. Fortunately, I haven’t encountered this type of leak yet. Mark any ingress points with a small piece of painter’s tape so you can address each one on your next maintenance day.
Rubber Gasket Leaks
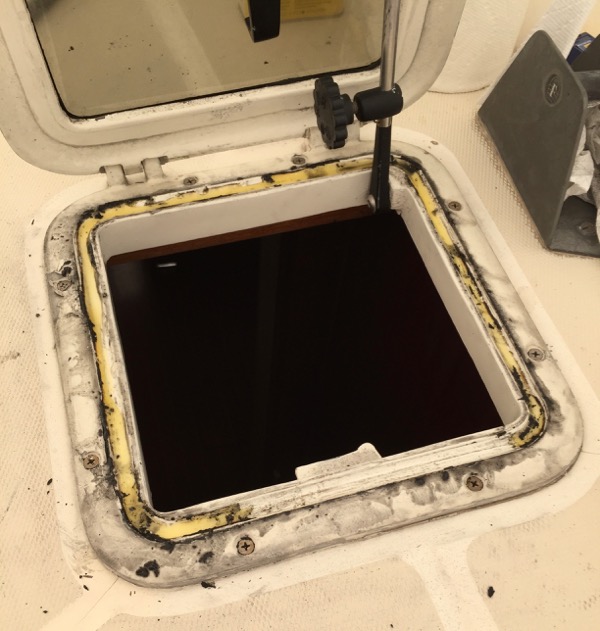
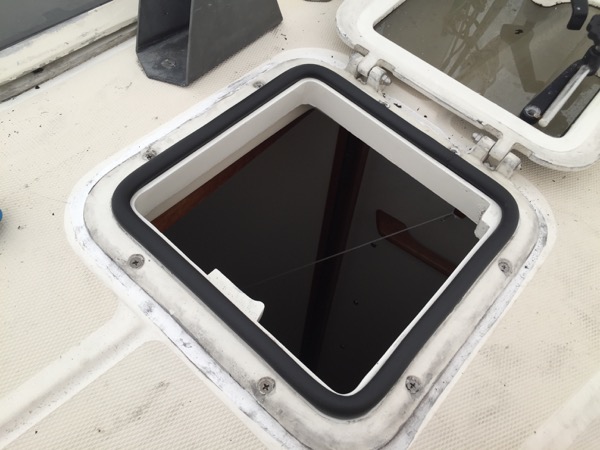
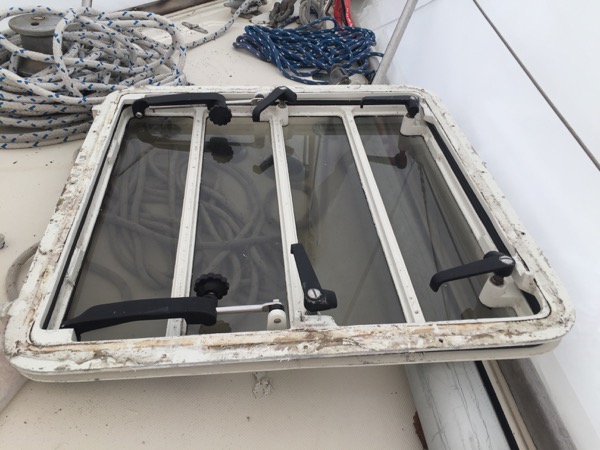
There is a good work around for leaks originating at the rubber gasket that can get you by for the rest of the season until you get a chance to replace the gasket. These leaks are caused by flattened, flaking and shrinking gaskets like those found on our boat:
To get through the balance of the season without the need to replace the gasket, be sure to wipe down the gasket and the opposing mating surface with a damp paper towel each time you close the hatch if you expect rain before you next open it. It’s important that the mating surface be as free of debris as possible, because the flattened gasket no longer has the resiliency to apply pressure to the mating surface. Debris can therefore create a gap for water to pass through. Remove the debris, remove the ingress point.
Check carefully the next time you open the hatch to see if the painter’s tape you left to mark the leak lines up with a gap in the gasket. As gaskets age, they shrink. The shrinkage can cause the joint where the two ends of the gasket were glued to separate, allowing water in. If you find this type of leak, fill the gap with a flexible caulk until the gasket can be replaced. I found the 3M 755 we used to bed hatches and portholes worked well; it adhered to the gasket and proved flexible enough to stay in place until the end of the season. In our case, it didn’t 100% stop the leak but it slowed it by 90% or more.
At your next maintenance cycle, replace the gasket. Our boat has the old metal Bomar hatches for which Bomar supplies replacement gaskets with adhesive on one side. Be ready for this job to take longer than you might imagine, and be wear ratty old clothes. It is a very dirty job! Carefully remove all traces of the old gasket and adhesive. Be careful not to mar the mating surface. When necessary employ adhesive removers such as Goo Gone but be sure to follow up the use of any such liquids with acetone or rubbing alcohol so all traces of it are removed before the new gasket is set in place.
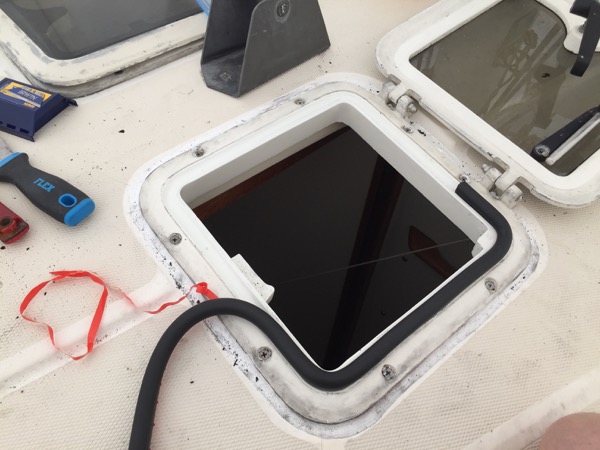
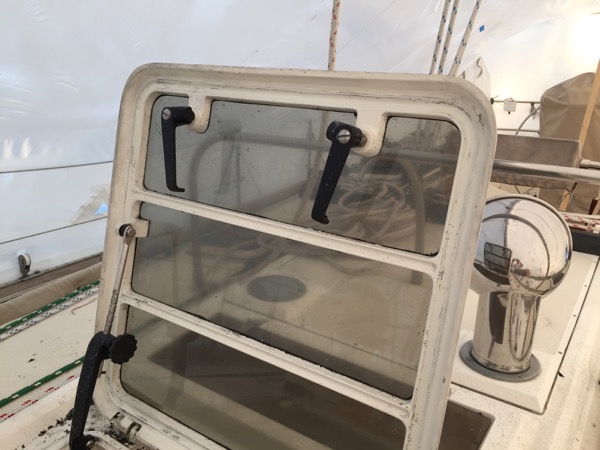
Remember the golden rule of applying paint, varnish, epoxy or adhesives: 99% of the outcome is decided by the preparation of the surface before you apply the end product. Here is a mating surface ready for the adhesive-backed gasket from Bomar:

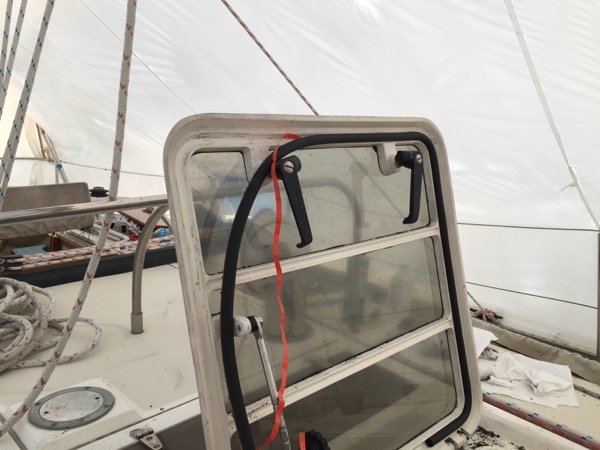
And next up, the new gasket goes in:
Per Bomar’s instructions, Super Glue worked great to form a butt-joint mating the two ends of the gasket. Thorough testing of each gasket with a garden hose is a good idea before uncovering the boat (if it was covered at all during the process).
Here’s the same procedure being carried out on our main cabin hatch, which had the gasket installed on the hatch lid, not the bottom frame. The process is the same. This gasket came apart as it was being removed and left a ton of rubber behind that was a serious hassle to remove. Patience is key. Also if one hatch has a bad gasket chances are they all do, so we replaced the gaskets on all of our hatches once we noticed that one of them leaked. They were all of the same age – so do the job right and replace all of them.
Leaks At The Frame
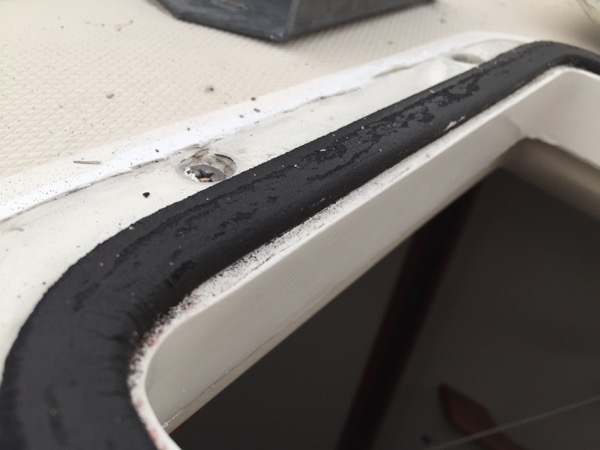
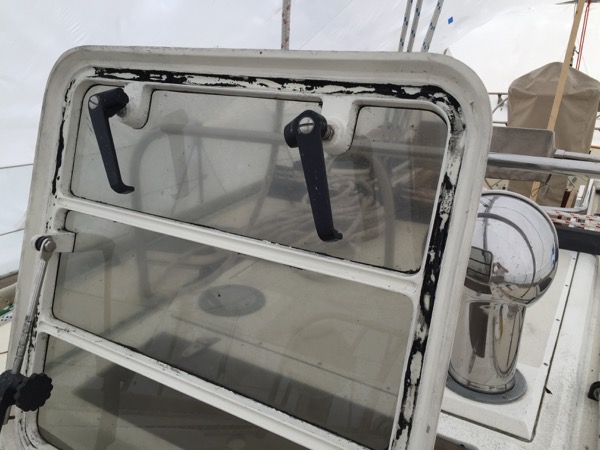
Our forward hatch leaked at both the frame and the gasket – a real winner. To get us through the season without the need to re bed the frame at our Newport mooring, we employed a simple workaround our readers can imitate: we applied a small bead of caulk around the outside of the frame where it mated with the deck. We also covered each screw hole in the frame with caulk. Although not especially elegant, this work-around got us through the remainder of the season without any more frame leaks. It may be temping to leave this repair in place, but any frame leaks should be addressed with a complete re-bed. The same golden rule applies to re bedding hatches as it does to replacing hatch gaskets: surface preparation is critical before the new sealant is applied. If silicone was used to bed the hatch previously take these additional steps:
- Track down the person that last bed the hatch and smack him or her across the face firmly for having used silicone. Silicone sucks. It should not be used anywhere on a boat. Ever.
- Take the extra step of wet sanding the mating surface to remove any traces of silicone. Silicone leaves a residue that impedes the next sealant’s ability to adhere to the mating surface.


As with gasket replacements, test with a garden hose after the caulk is dry. It’s better to find out quickly that a re bed failed than to be woken up in the middle of the night by those devastating drips of defeat on your forehead.

Truly very thorough and done rightly. What could be better than a proper repair that will prevent repeating the same process every season!
Rich, On Skylarker we had a lot of issues with the butt joints on the gaskets. They came “unbutted” every other year or so. Gasket was fine just leaked at the butt. I used a little silicon sealer (sorry, but it was what I had on hand) to close the joint back up and seal around the ends of the butt joint
🙂