Long time readers of this blog may remember that I sometimes have a habit of over investing in vanity projects that turn out to be a huge amount of work.
Oops, I did it again.
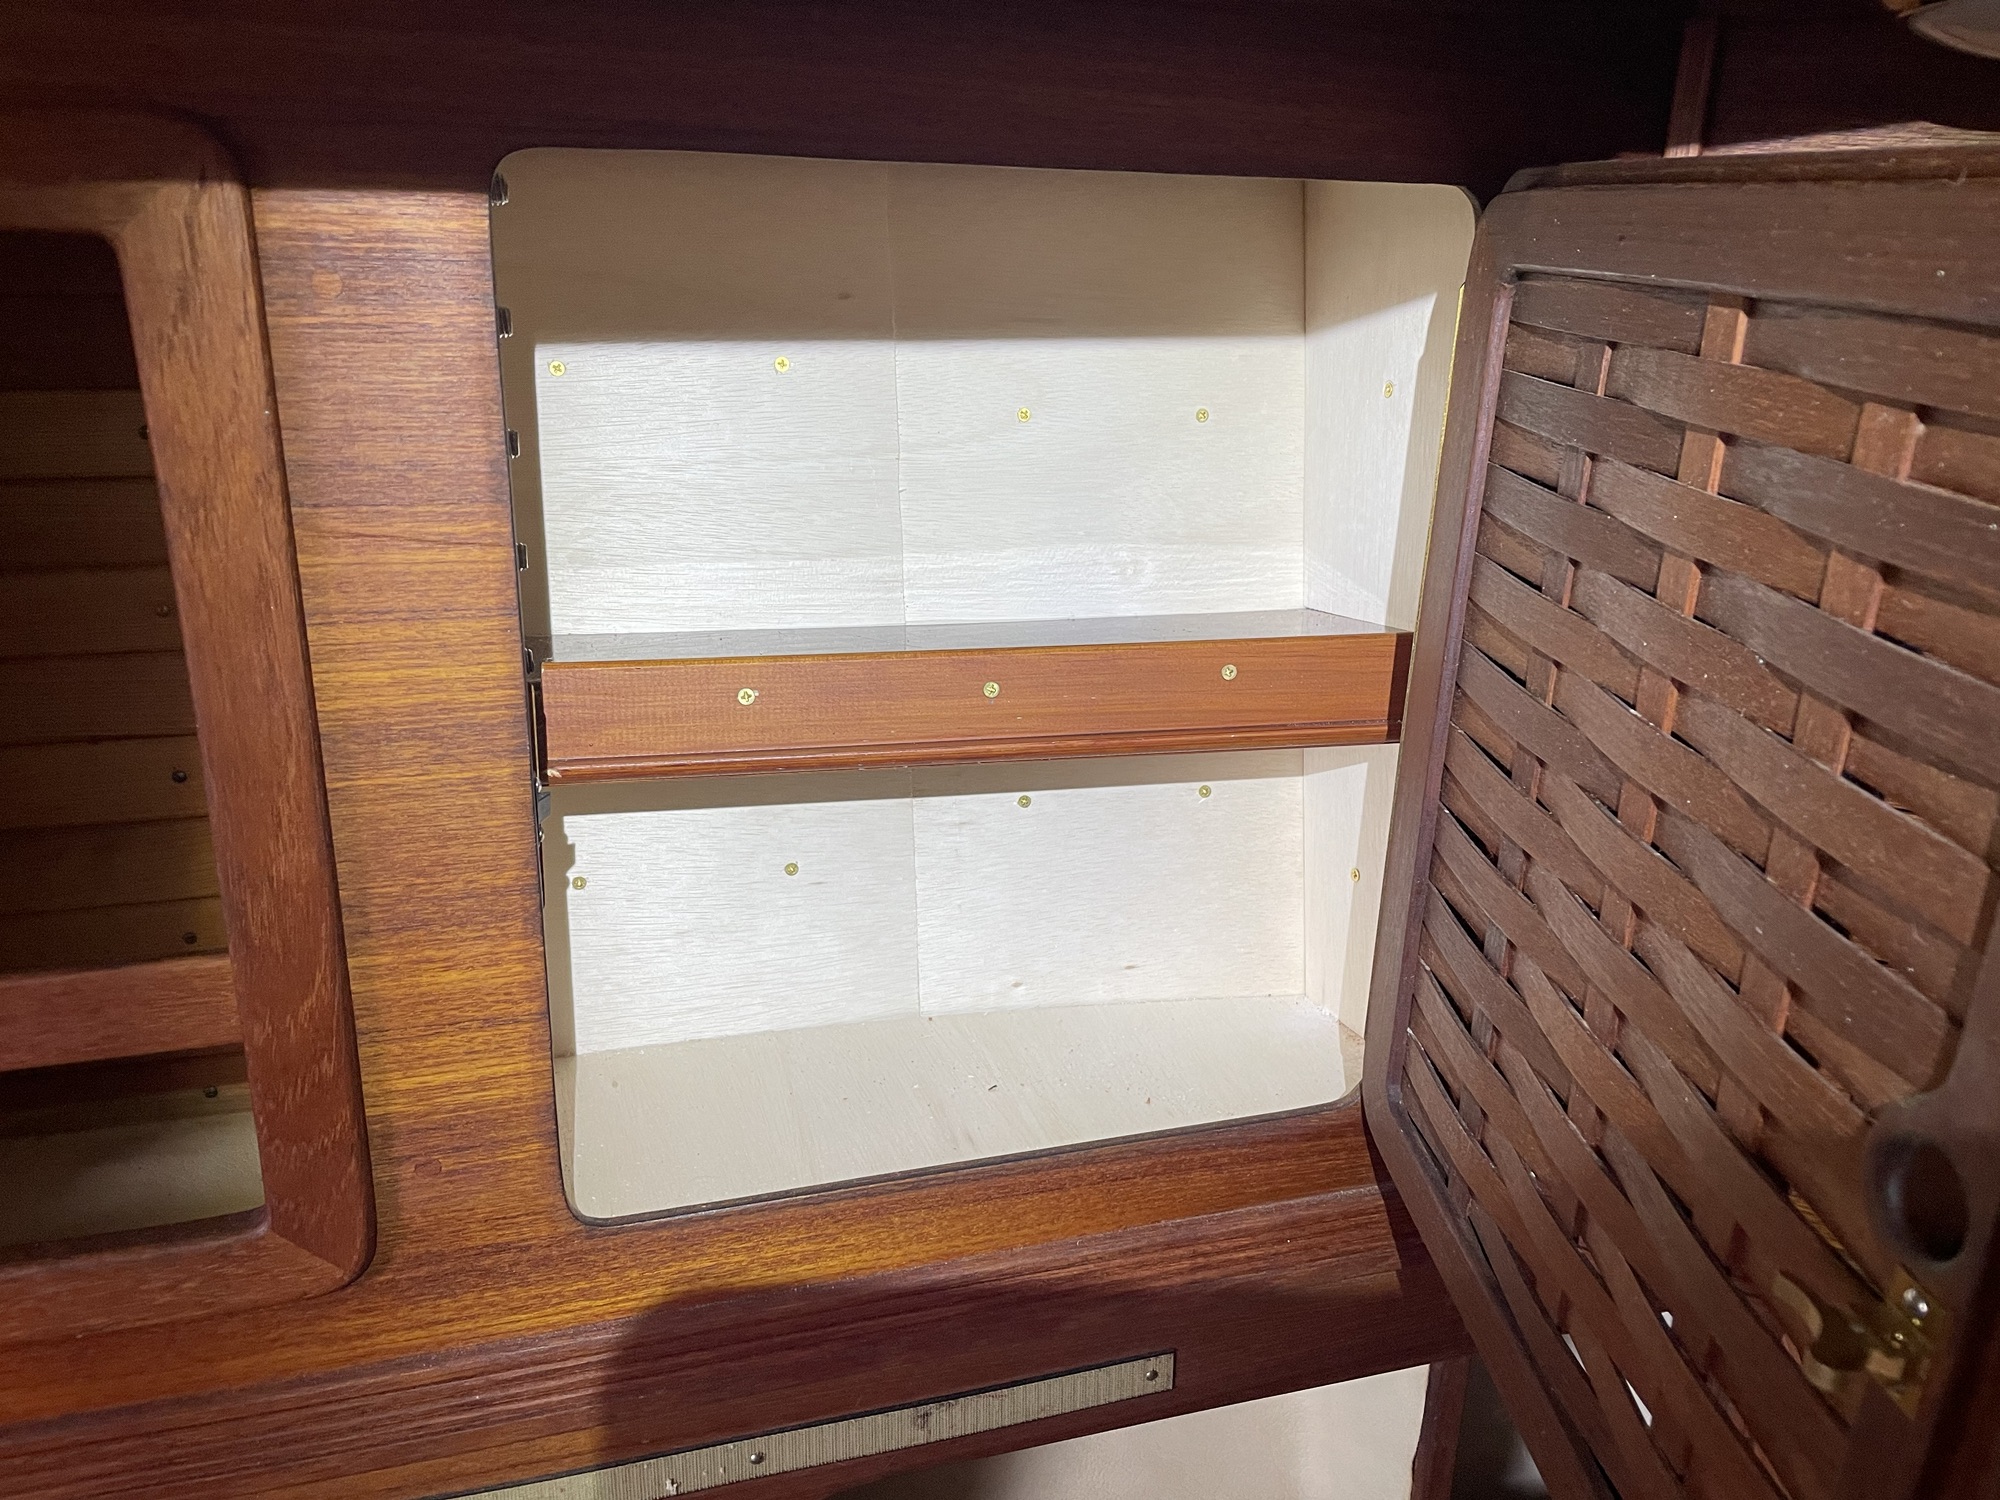
Having owned both our Hylas 54 and two 1980s Sabre now, we have taken note of the extremely high level of fit and finish in the interior of semi-custom boats like the Hylas. Every locker in Rover’s cabin is fully finished with interior panels and shelves, where the lockers in the Sabre are simply lined with vinyl and lack any shelving. The Sabres are incredibly well built in general, but the factory did save on labor in certain contexts like this one. Since I was replacing the vinyl in the port side forward locker anyway, I decided to line it with a floor and side panels and to add a shelf finished with a beautiful walnut veneer we inherited with the Hylas. This post will make it sound like a simple enough endeavor, but it represented a massive amount of work that gave me a whole new appreciation for how many labor hours are in a Hylas!
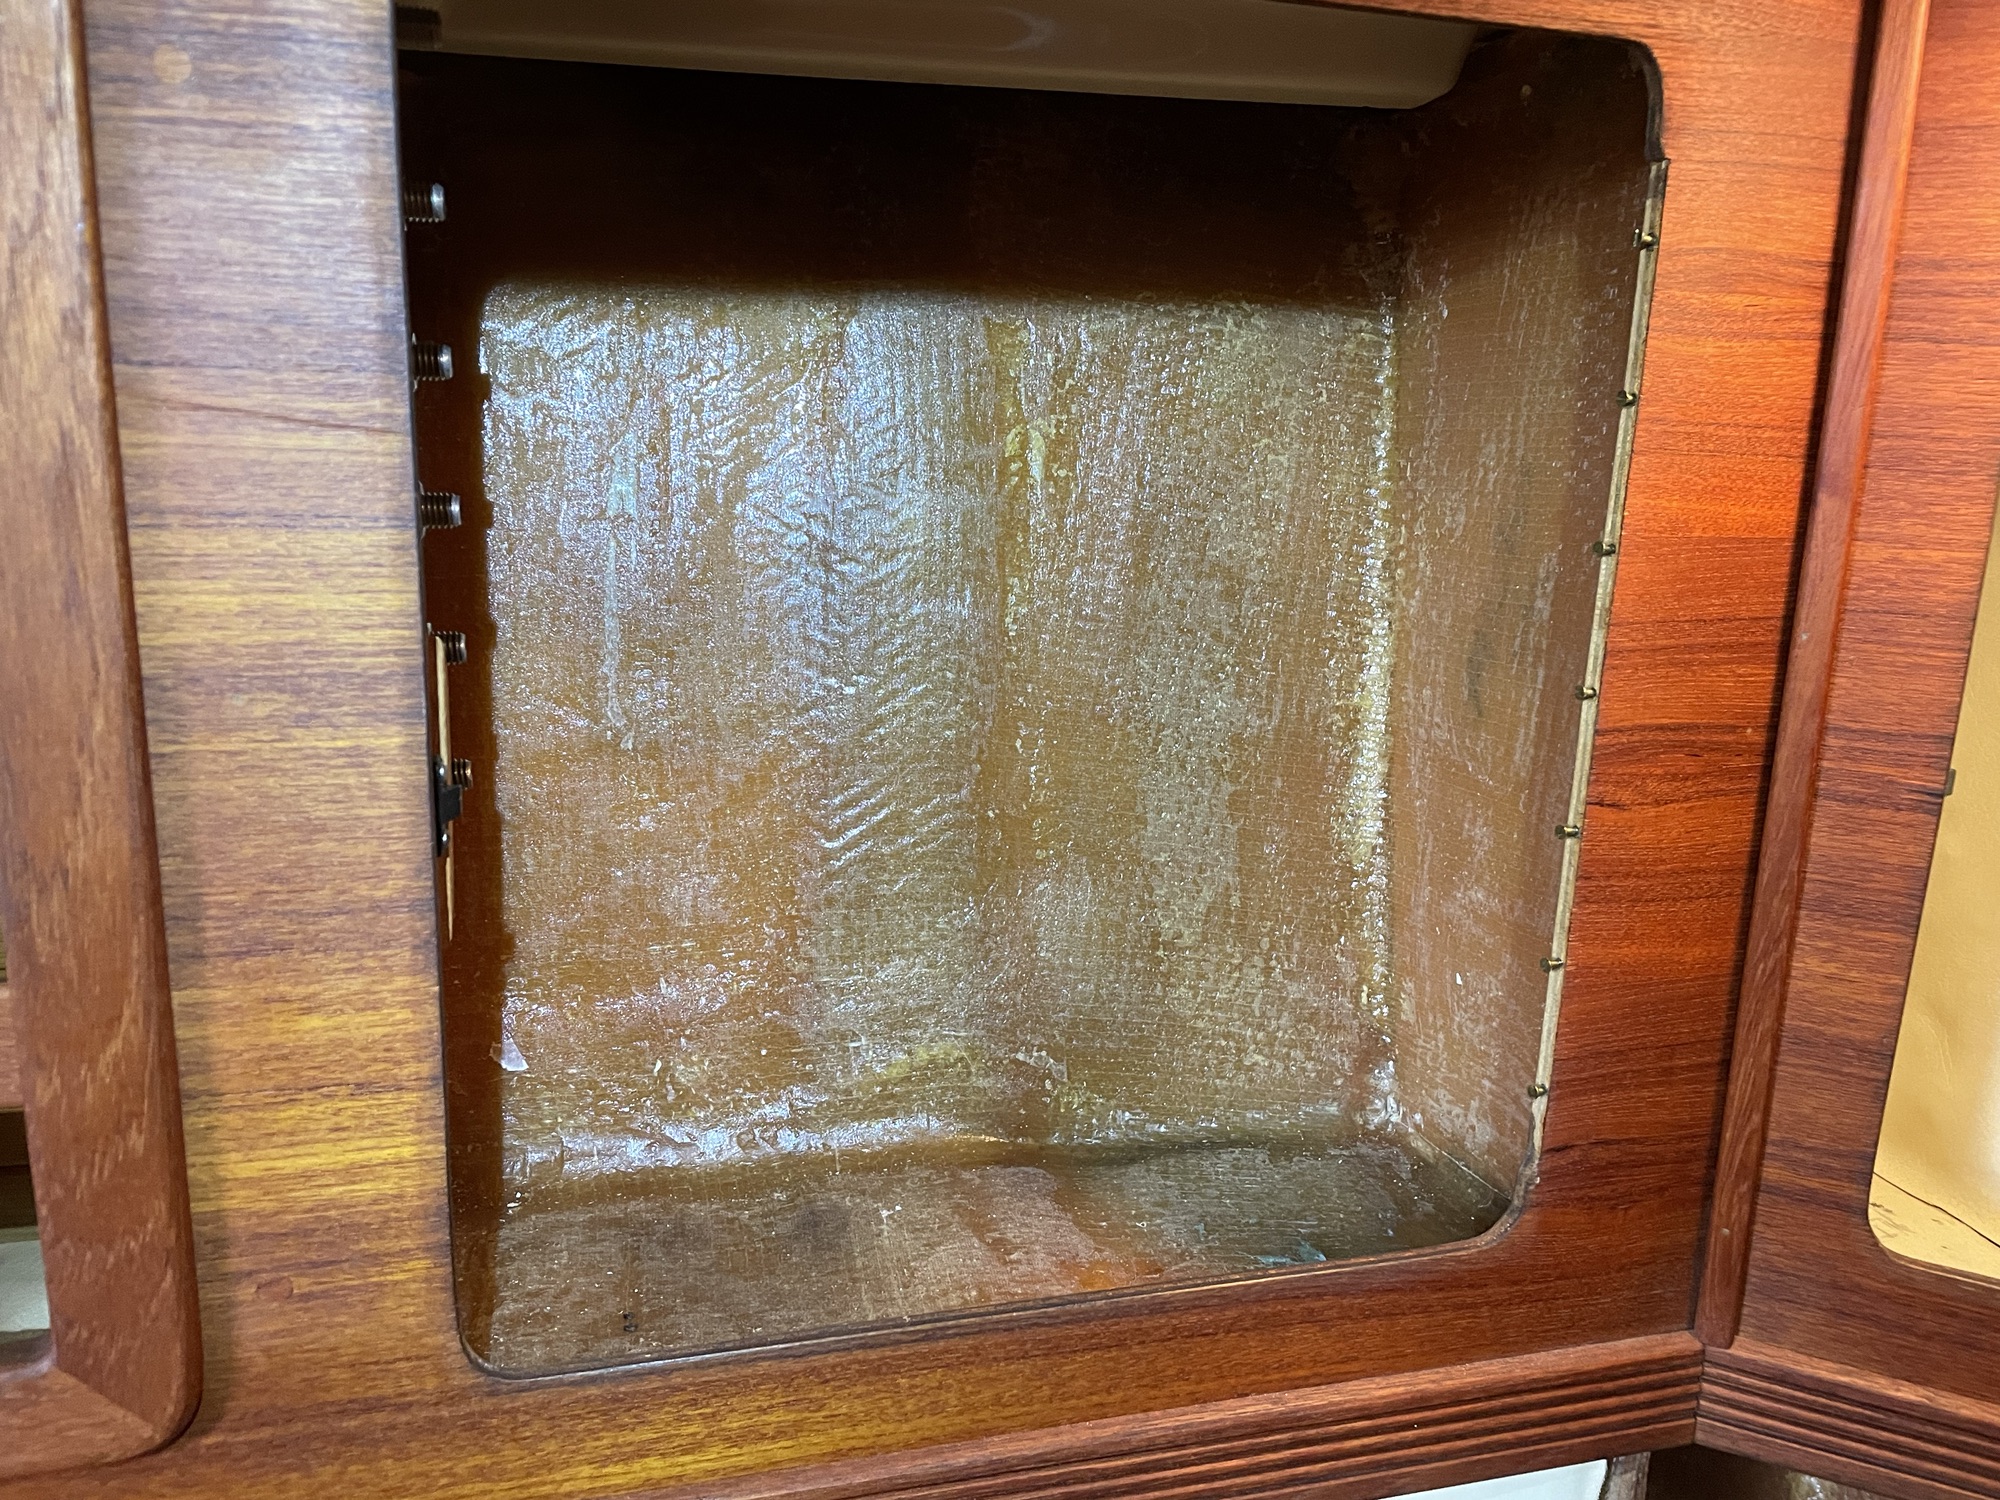
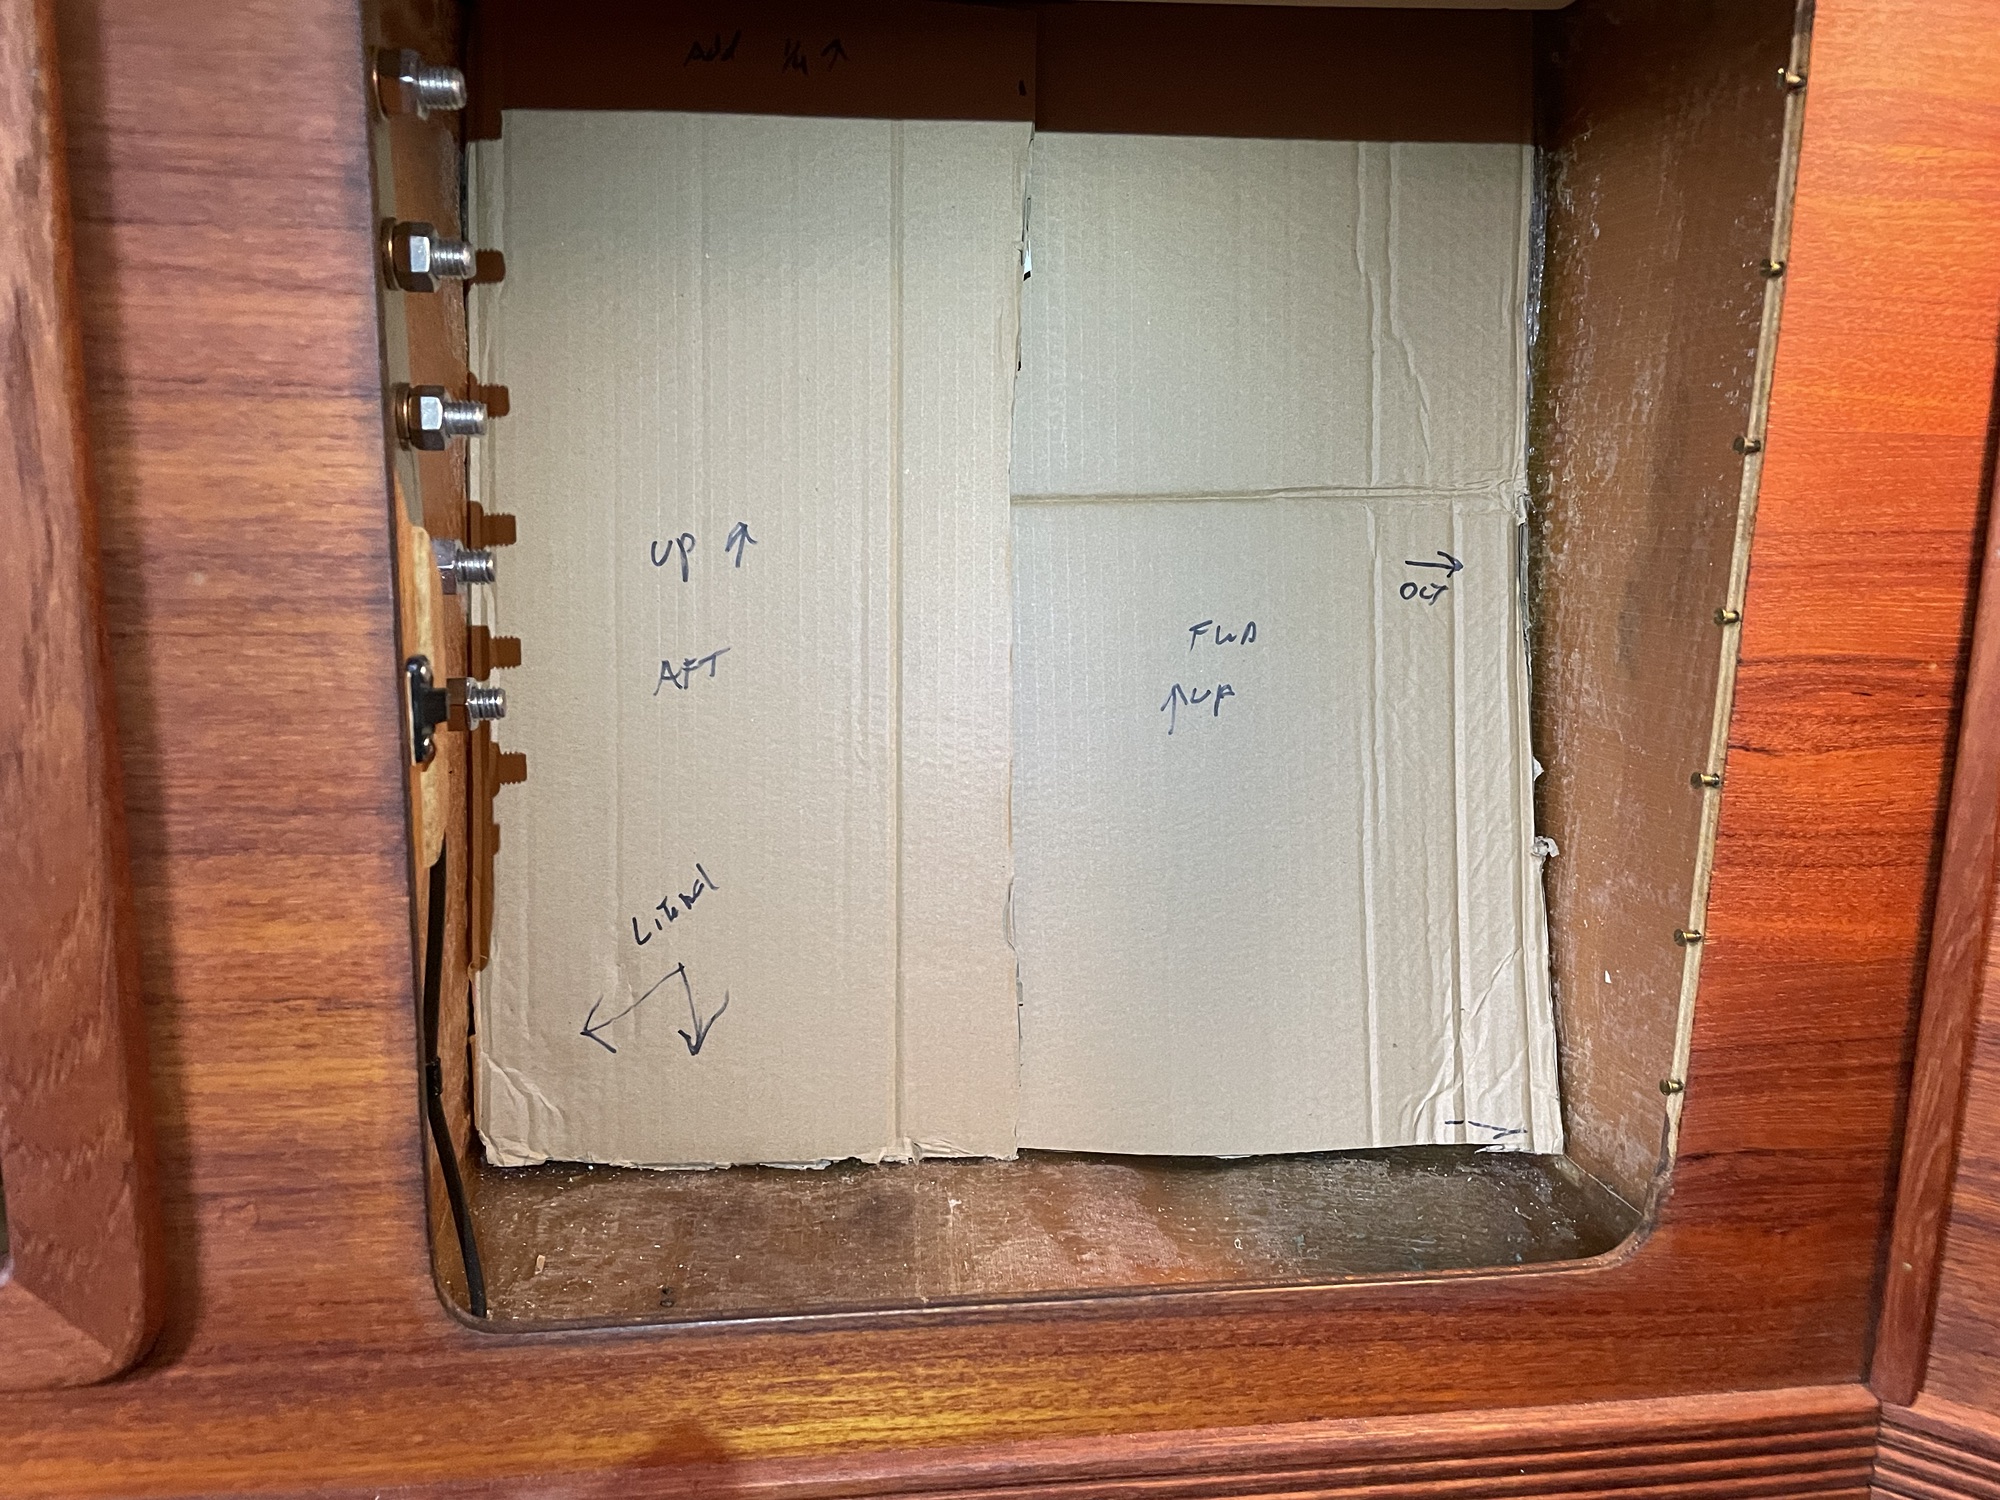
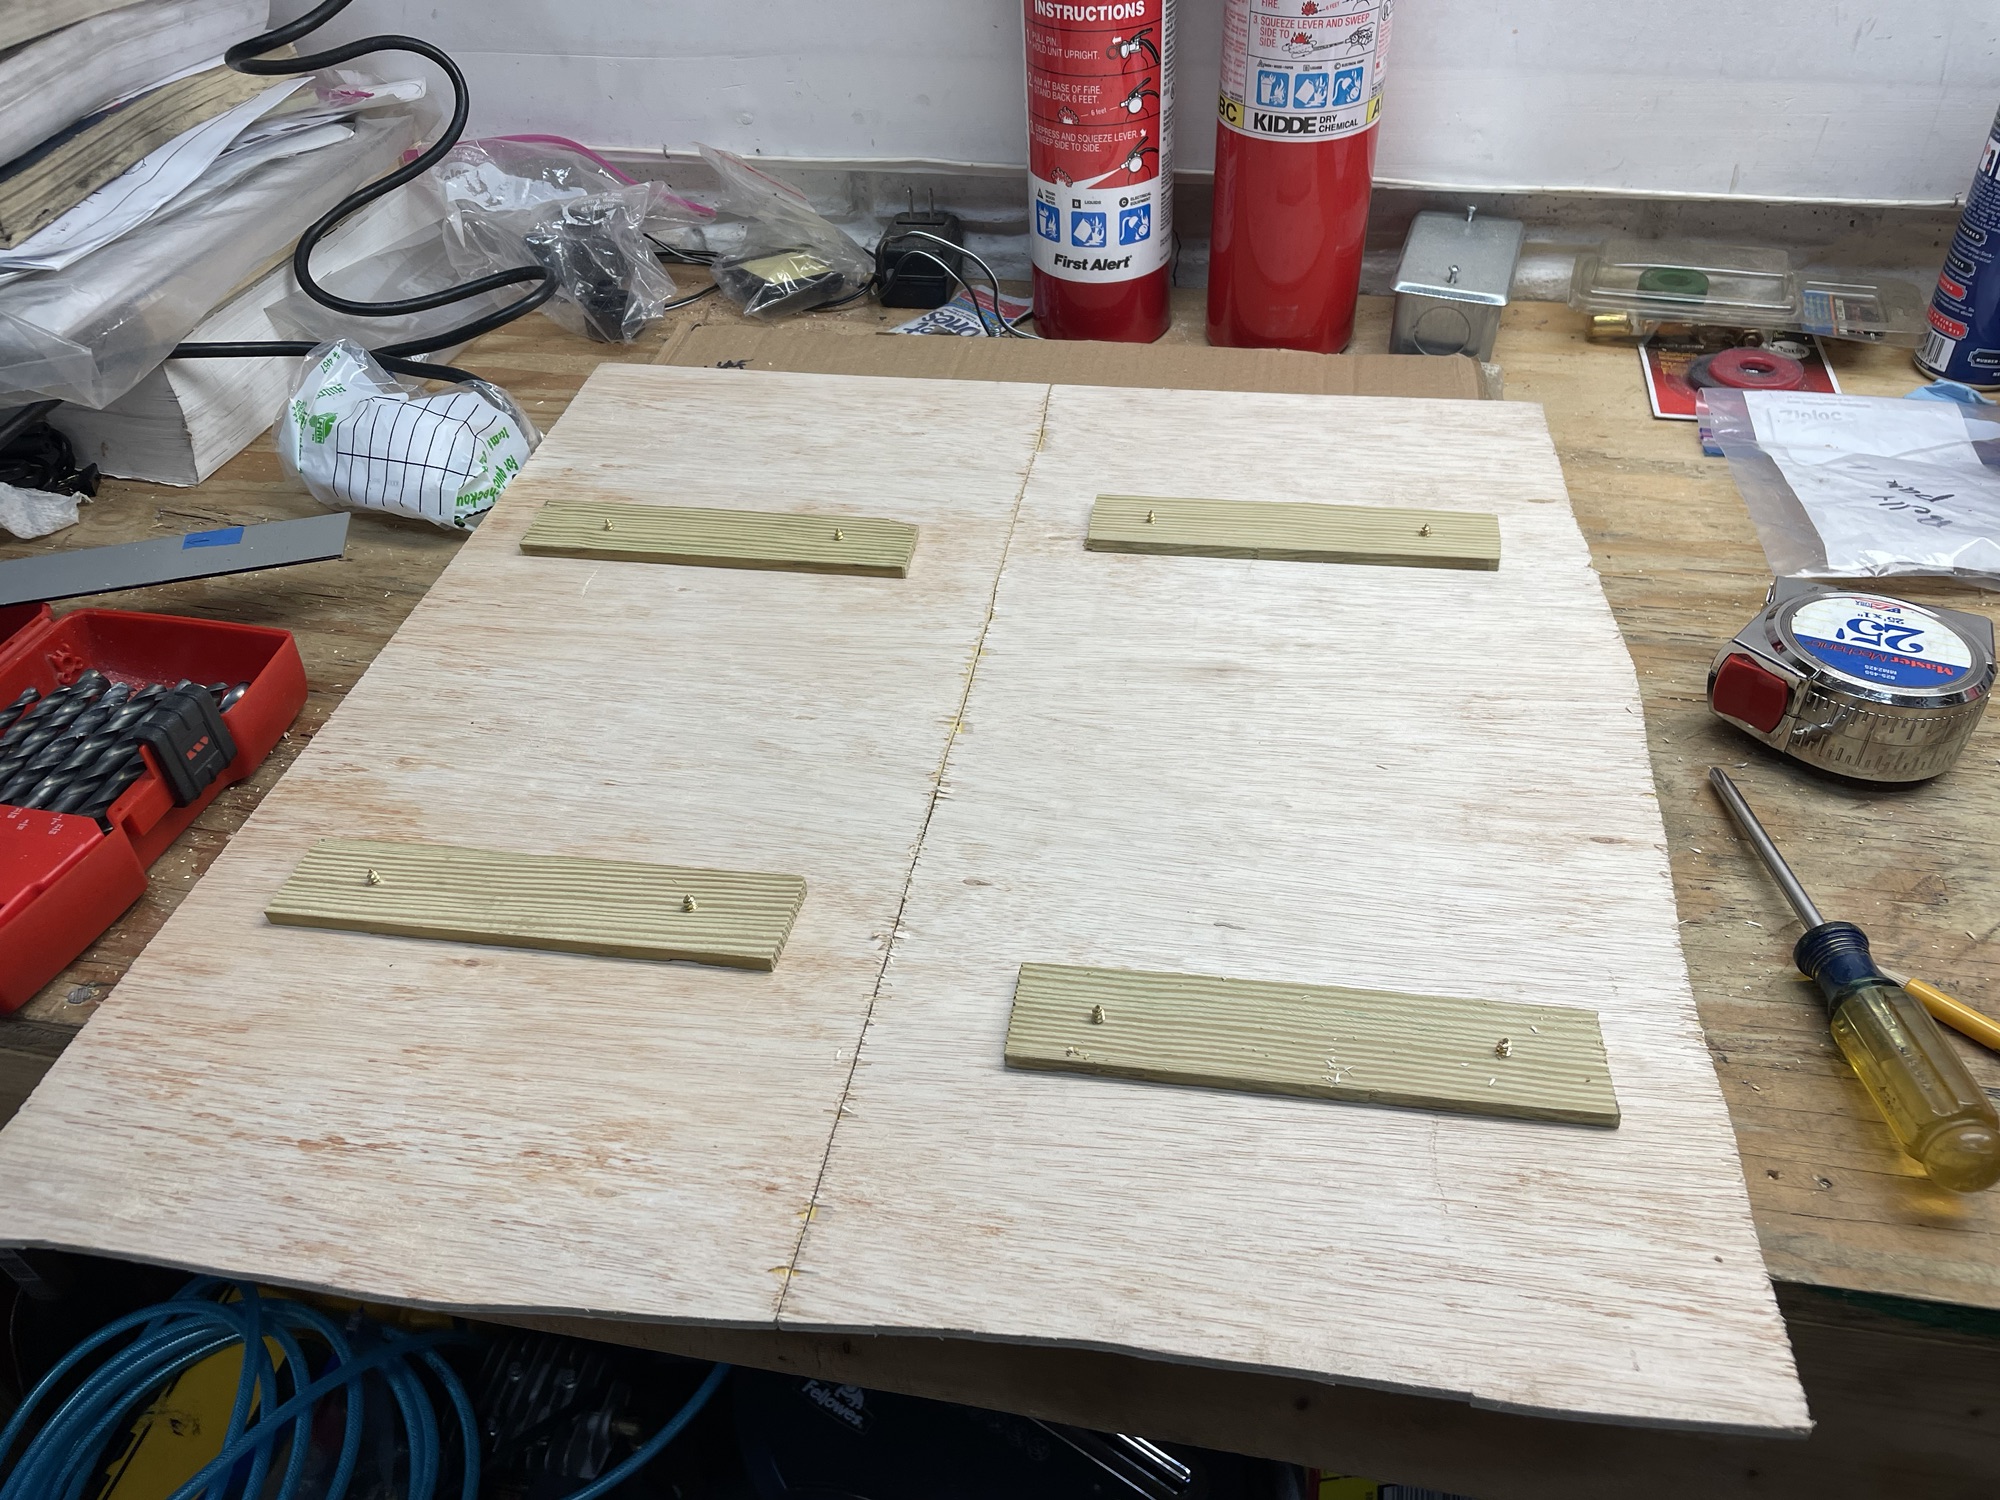
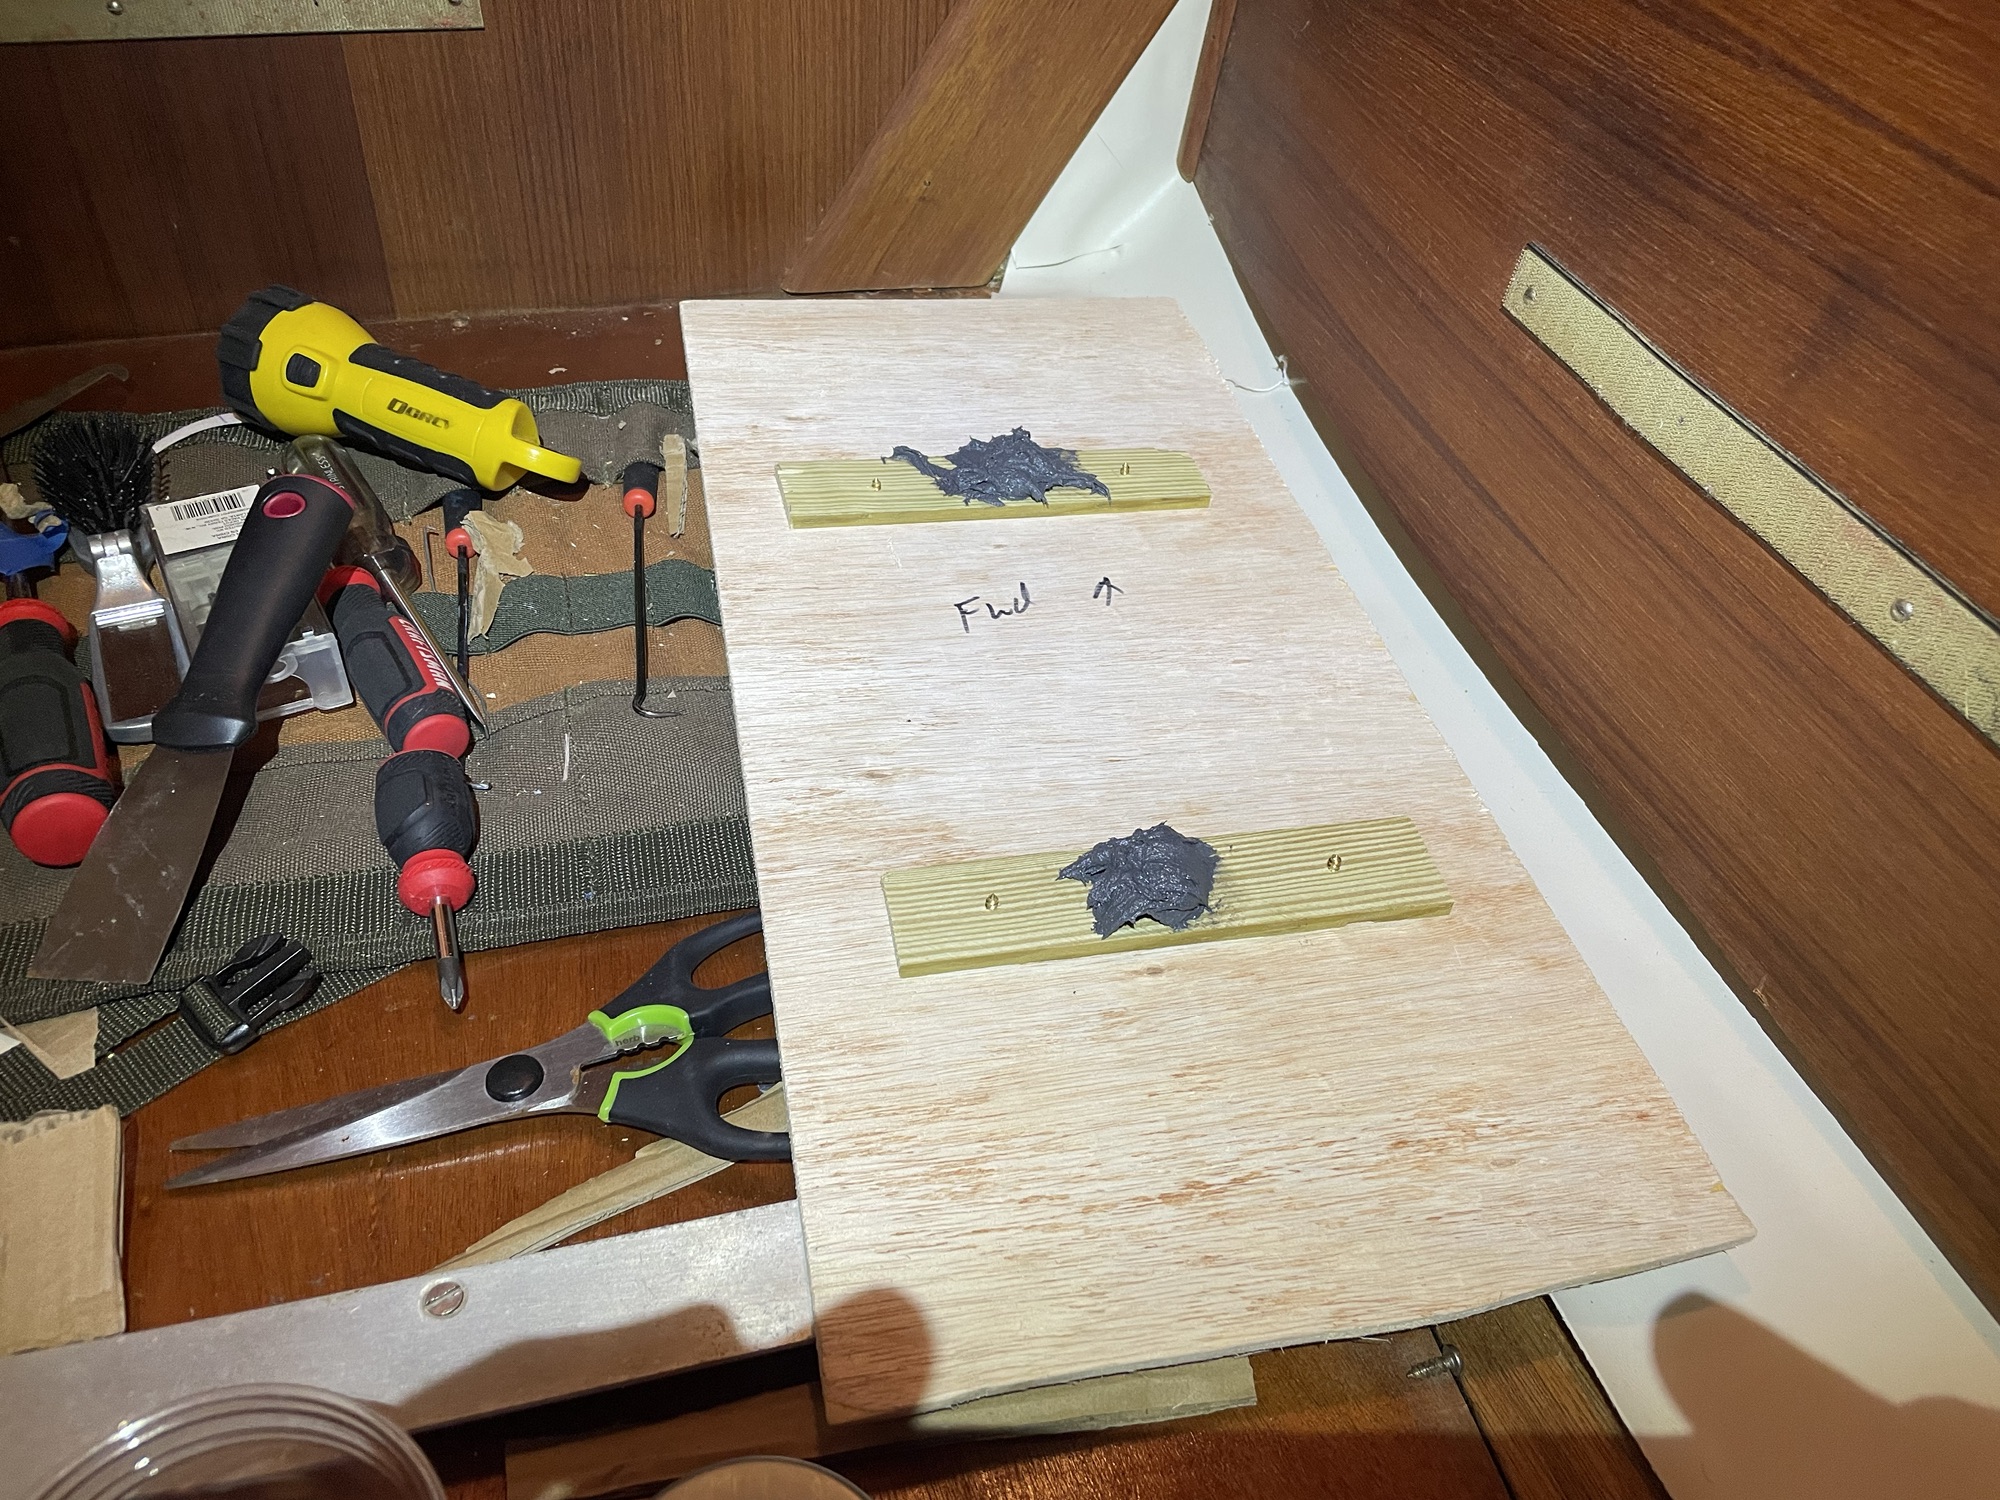
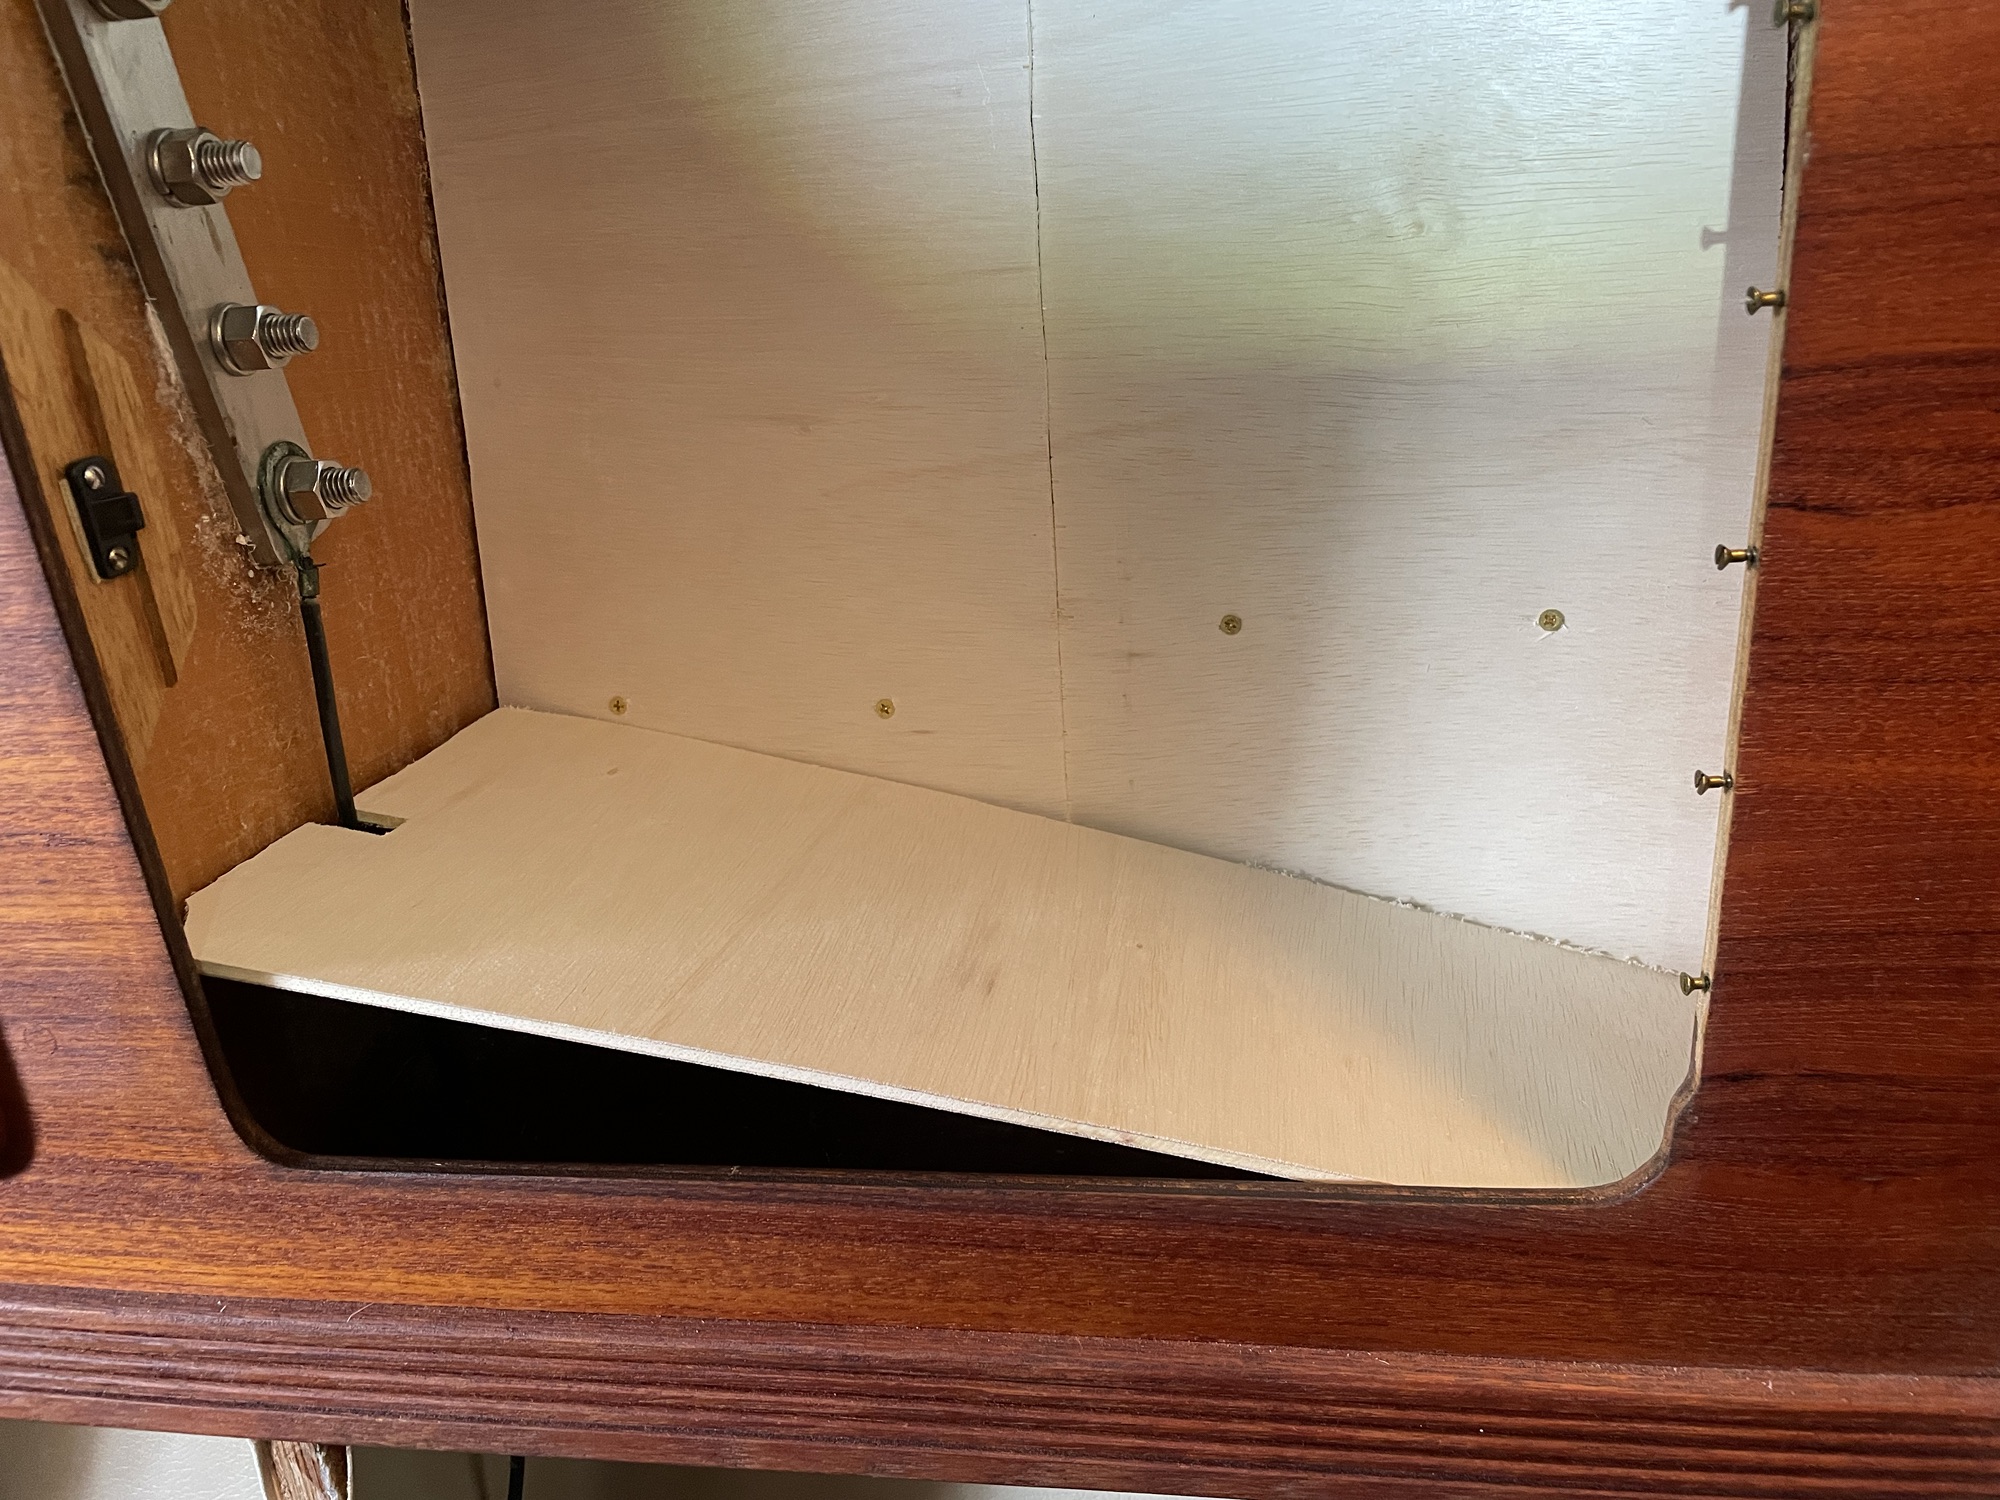
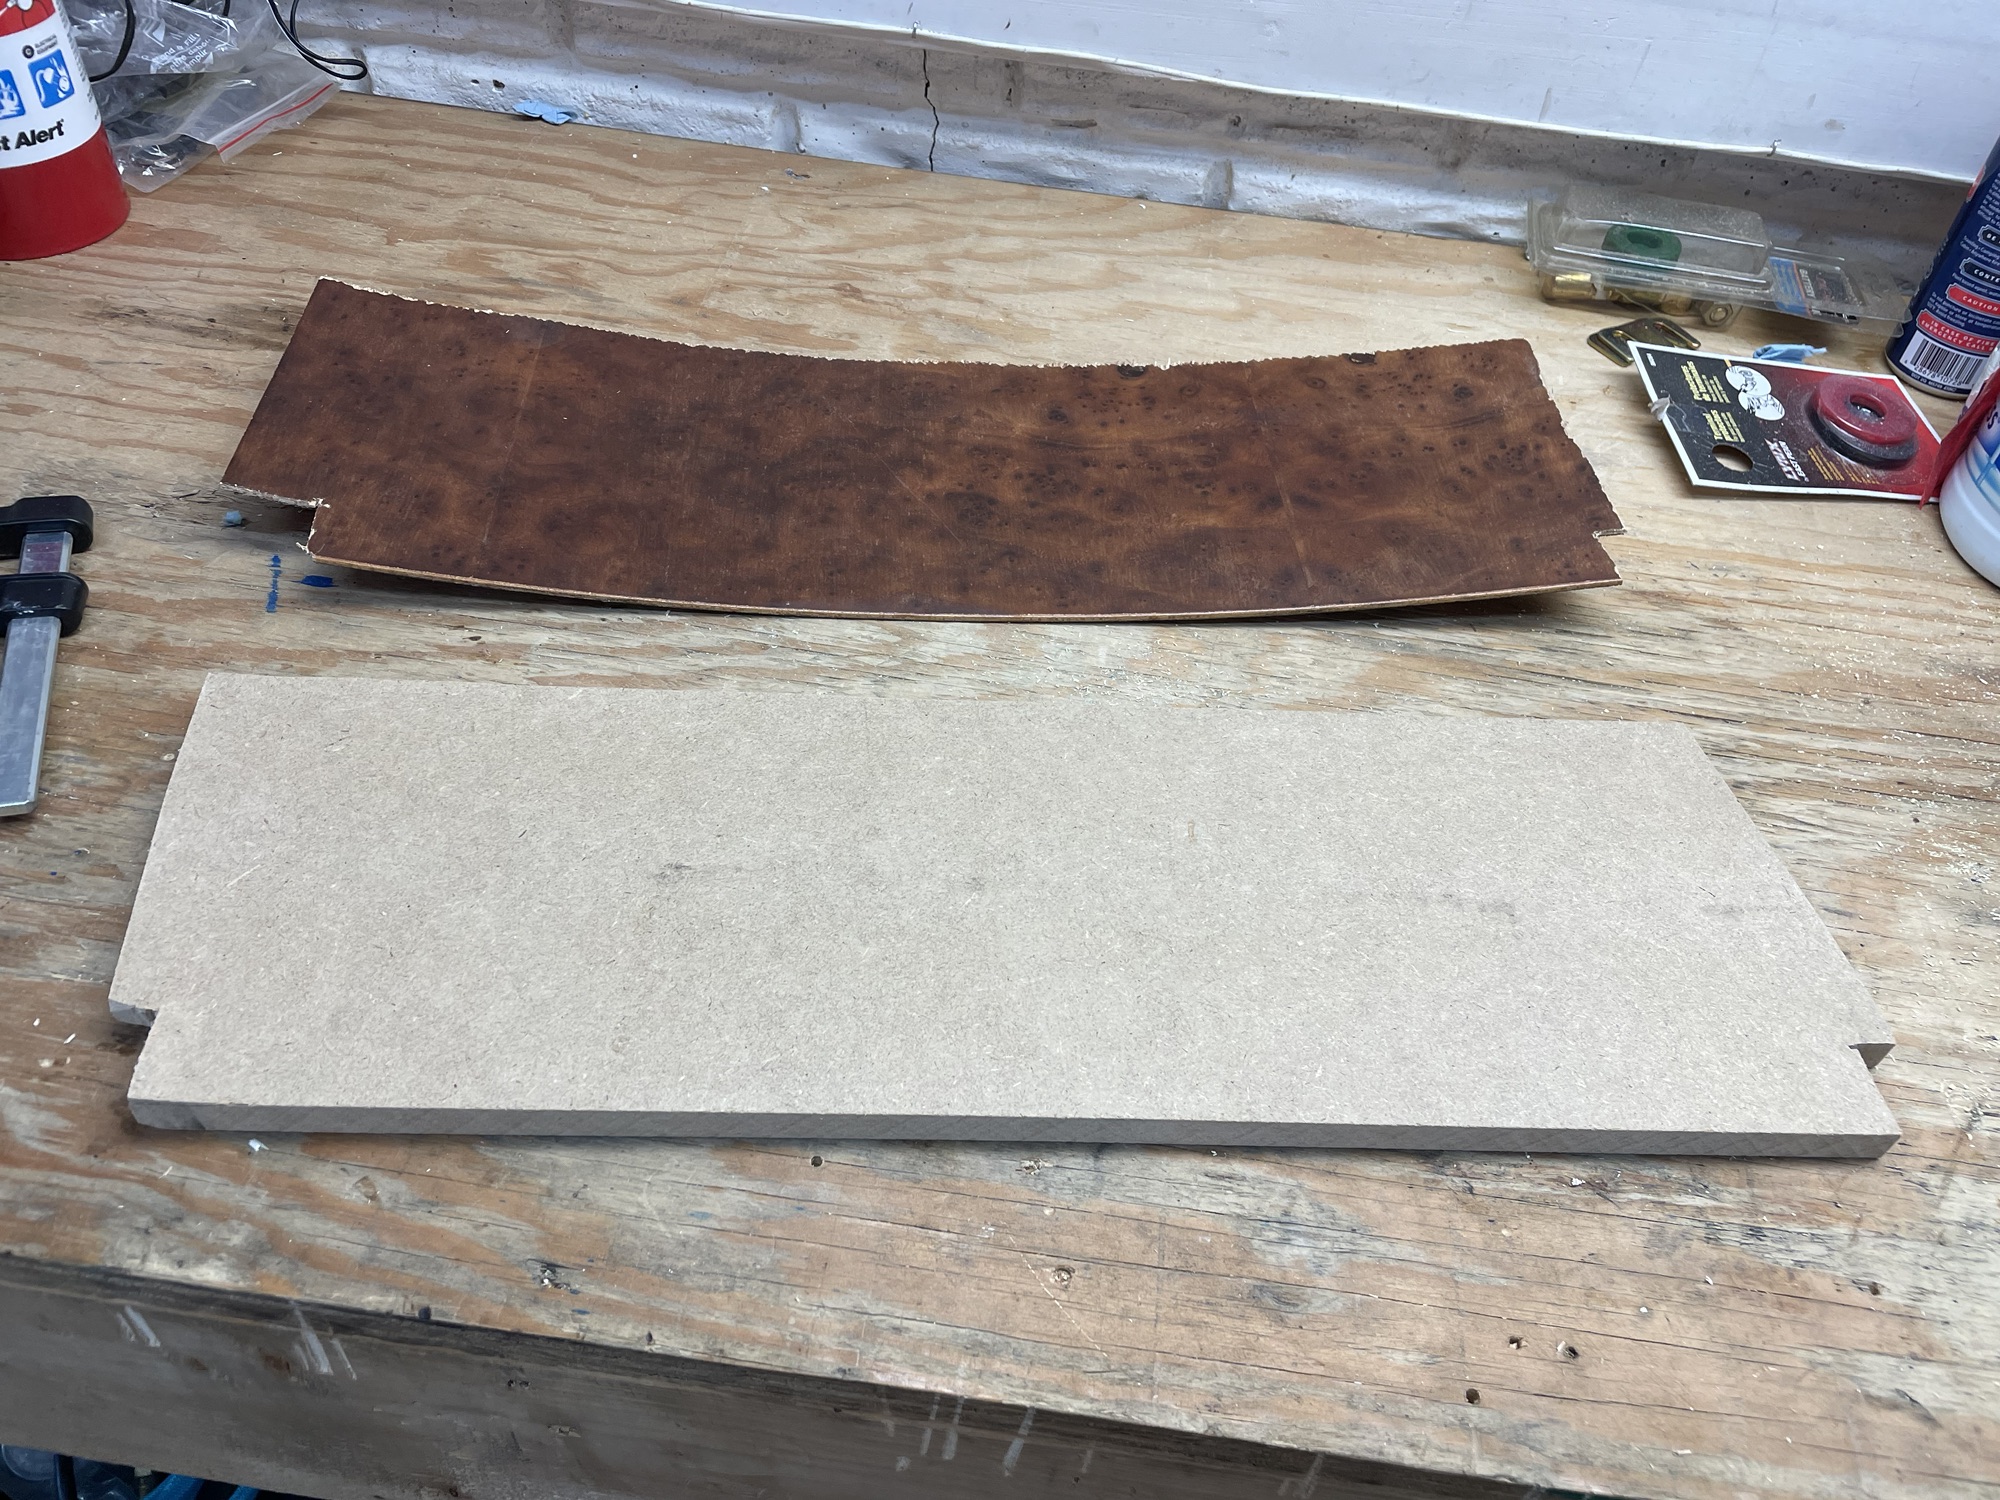
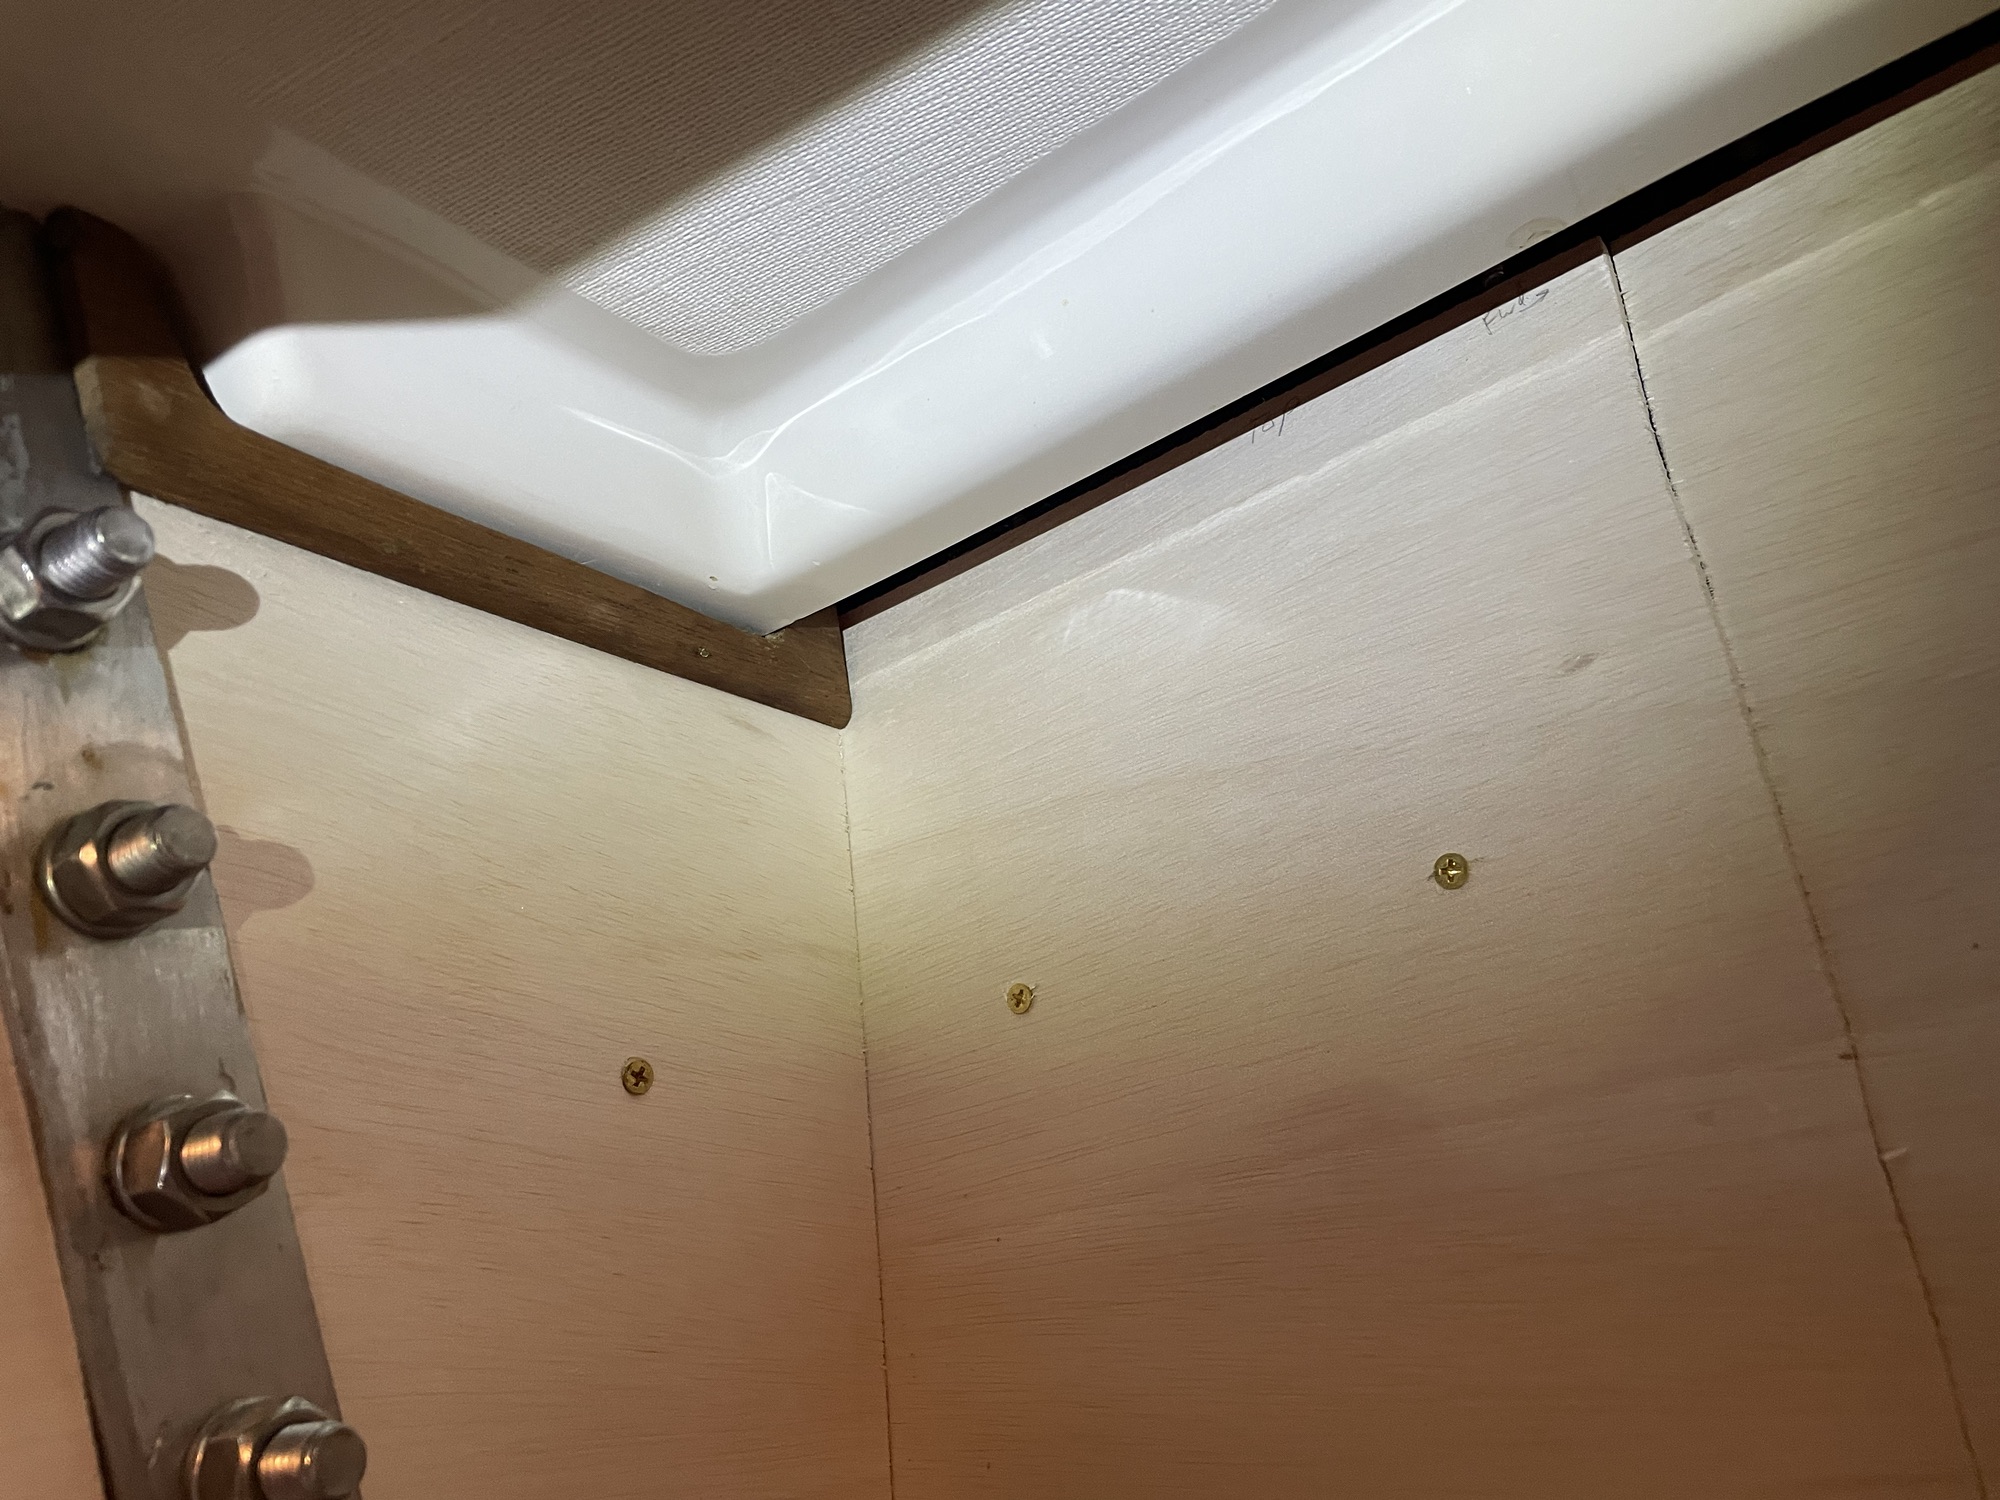
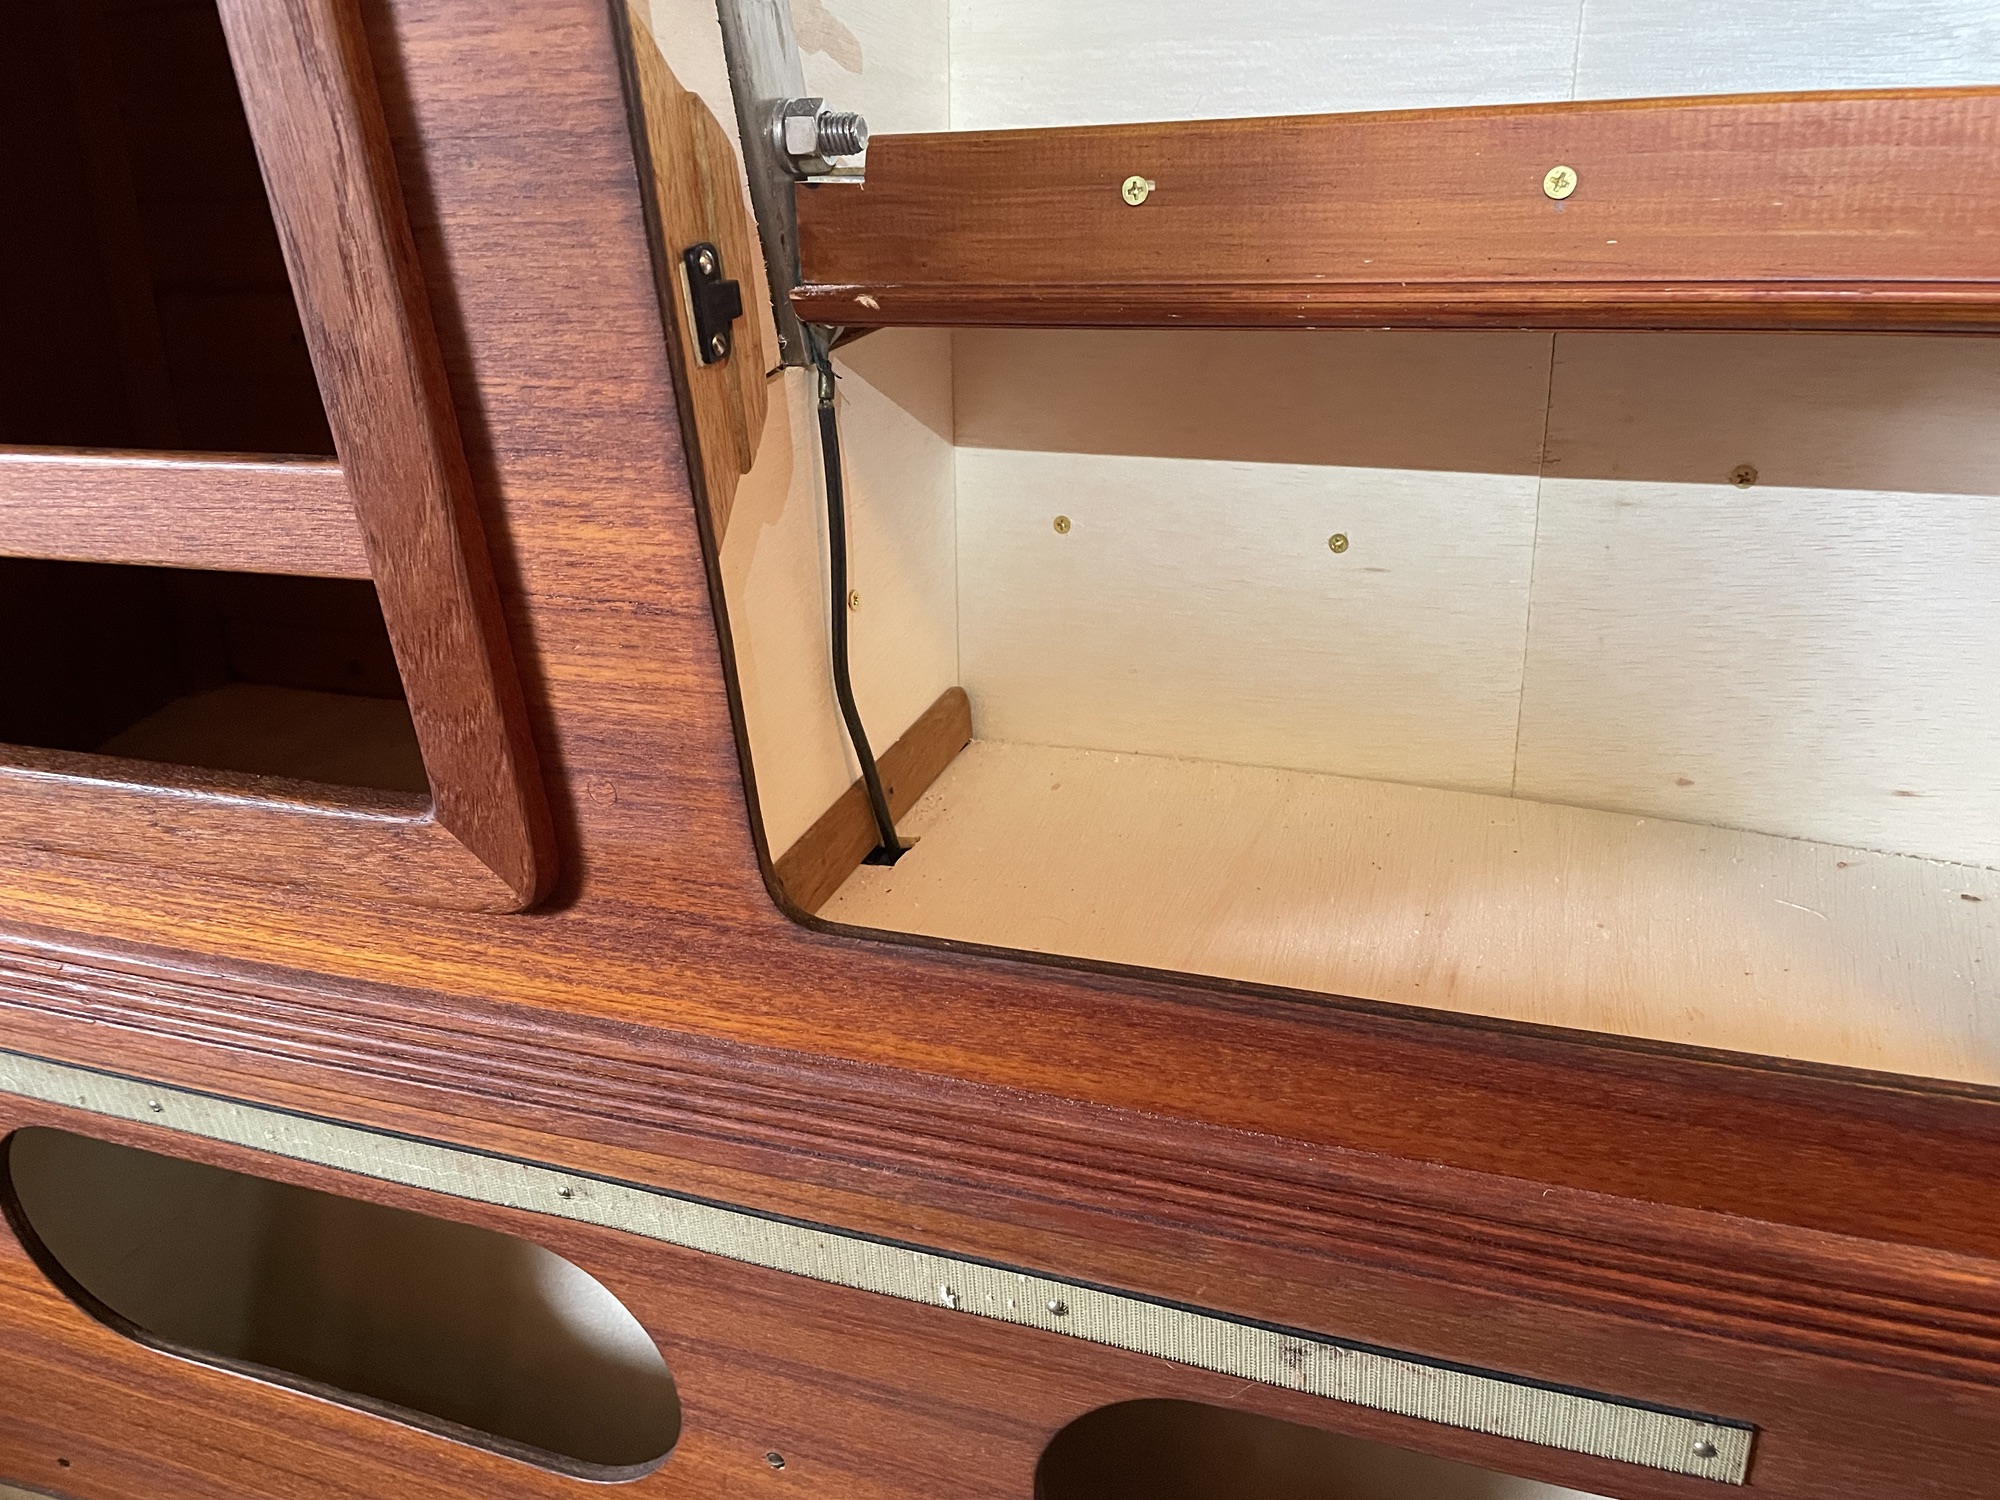
Here is the locker with the vinyl covering removed. Note that Sabre has coated the entirety of the locker with fiberglass to protect the wood bulkheads from rotting way due to the inevitable chainplate leaks that will periodically crop up during the boat’s life. This represents fantastic construction, but simply covering the fiberglass with vinyl felt like a bit of a shortcut – right up until I started this project!Almost nothing on a boat is a regular shape, so each panel was first mocked up using cardboard. I then cut each one slightly over sized and used a belt sander to carefully cull the excess to get them to fit. This process necessitated many trips up and down the ladder in Jabin’s Yacht Yard, with each panel taking much more time than I ever could have imagined. This back panel was made in two parts since a single panel would not fit through the opening.Test fit, sand, rinse, repeat!I screwed these wood strips to the back of the outside panels…… which I then fastened to the outside of the cabinet using epoxy putty. This way if and when I need to remove them, I can unscrew the panels from the wood trips. Fitting the floor panel.Multiple panels were required for the side panels to clear the chainplates. The fit does not need to be perfect where small scrips of teak can cover gaps and / our the gaps will not be visible once the shelf is in place. Here I have screwed cleats into the bulkheads to support the shelf.Because I would be covering the top surface of the shelf with walnut veneer, the shelf material itself did not need to be particularly fancy. Here it is being test fit between sanding runs for a perfect fit.The walnut veneer cut to match the shape of the shelf. The veneer being epoxied to the shelf. Excess veneer and epoxy runoff were then sanded off. Slight modifications to the original teak gap covers were required, then they were nailed in. I was very pleased with the result! I lined the edge of the shelf with this piece of cherry, then completed a final assembly of all of the panels which included screwing the side panels to the bulkheads with attractive brass screws. In the end I was very pleased with the result but I don’t know that I can spare the labor hours to do any more lockers on the boat!
Seriously! This is simply amazing! To be short: This borders on obsession! But it is a very NICE one at that! Well done! Skal! Happy new sailing season!


Seriously! This is simply amazing! To be short: This borders on obsession! But it is a very NICE one at that! Well done! Skal! Happy new sailing season!